Father’s Day Weekend

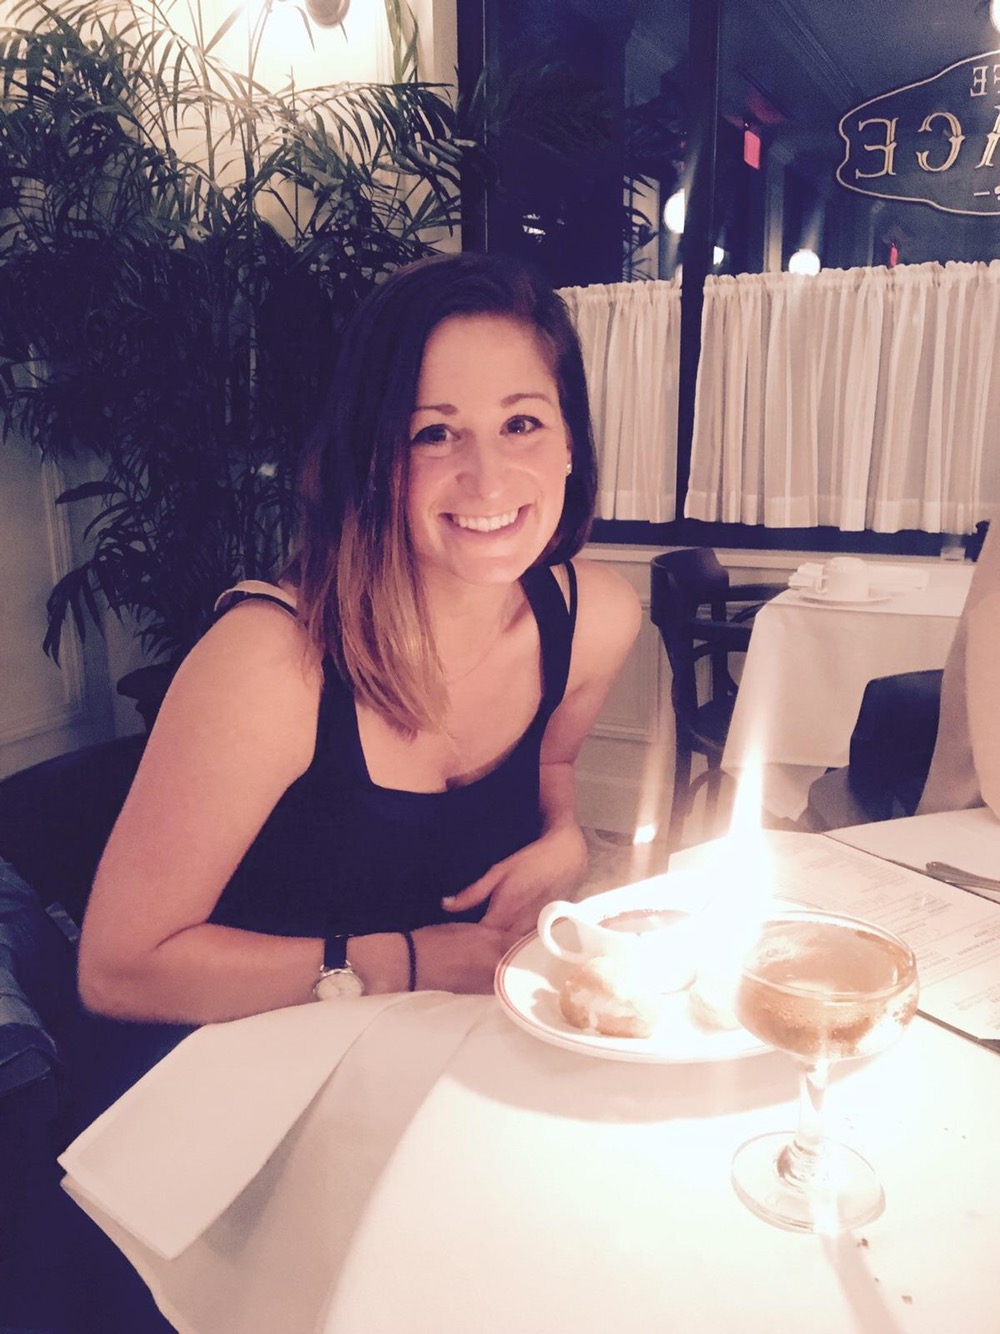
We had a great Father’s Day weekend. On Friday, I had a post-birthday birthday celebration with my girlfriends, which was just lovely. Delicious food, wine & company. No complaints from this girl.

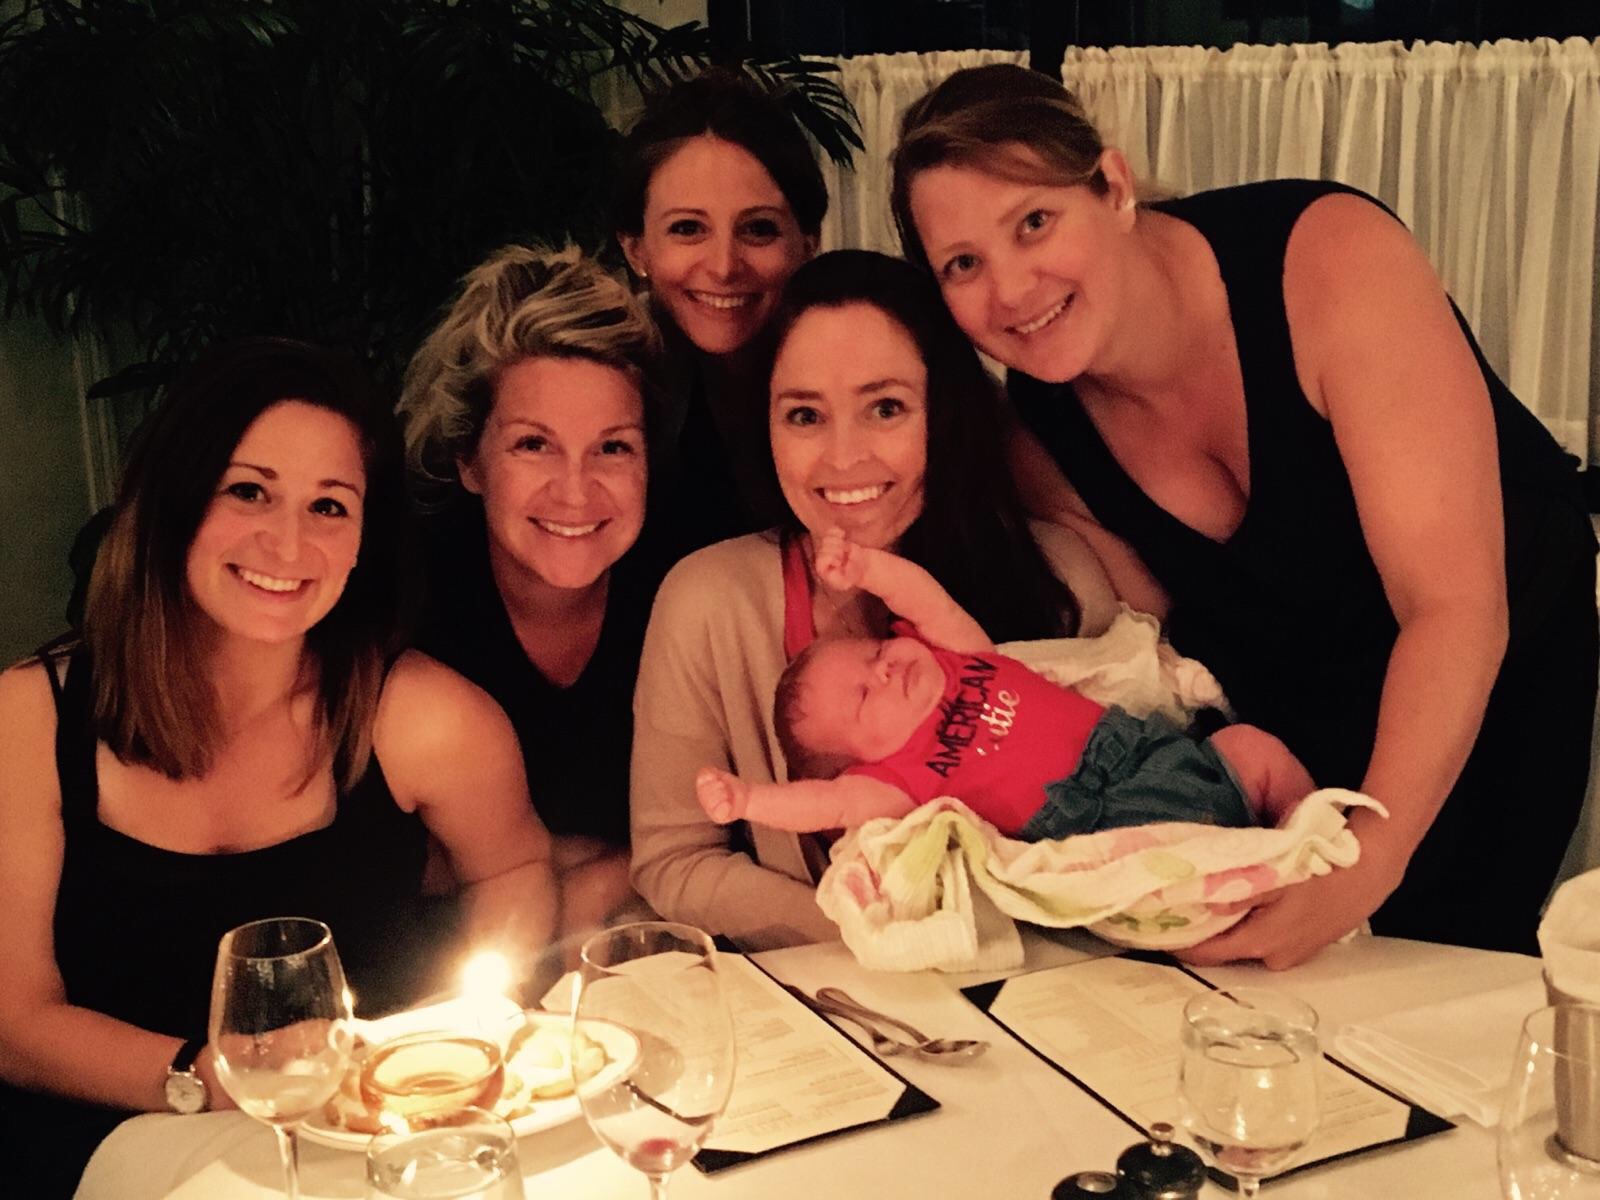
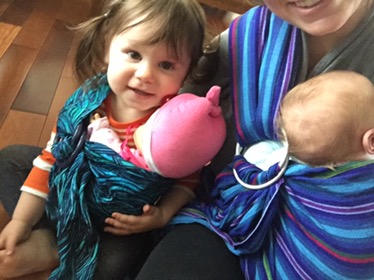
On Saturday, my bro was in town, so we all met for brunch (which took a RIDICULOUS amount of time). Since it was late once finished, we decided to put the kids down for their naps at my parents house and my bro, his gf, Mark and I went to the pool. HELLO, ADULT TIME! It was grand. The weather chose that one hour and a half to get all dark and moody, but whatever.

After pool time, we picked up the kiddos and brought them home, where we met my amazing MIL, who had volunteered to babysit the kids. MORE ADULT TIME. Marky and I went for some pretty amazing Nepalese food. It was so much fun. Then, we went to see Wonder Woman. I literally ate my popcorn and then passed out until the final 10 minutes. BUT, most importantly, the man of the hour enjoyed it.

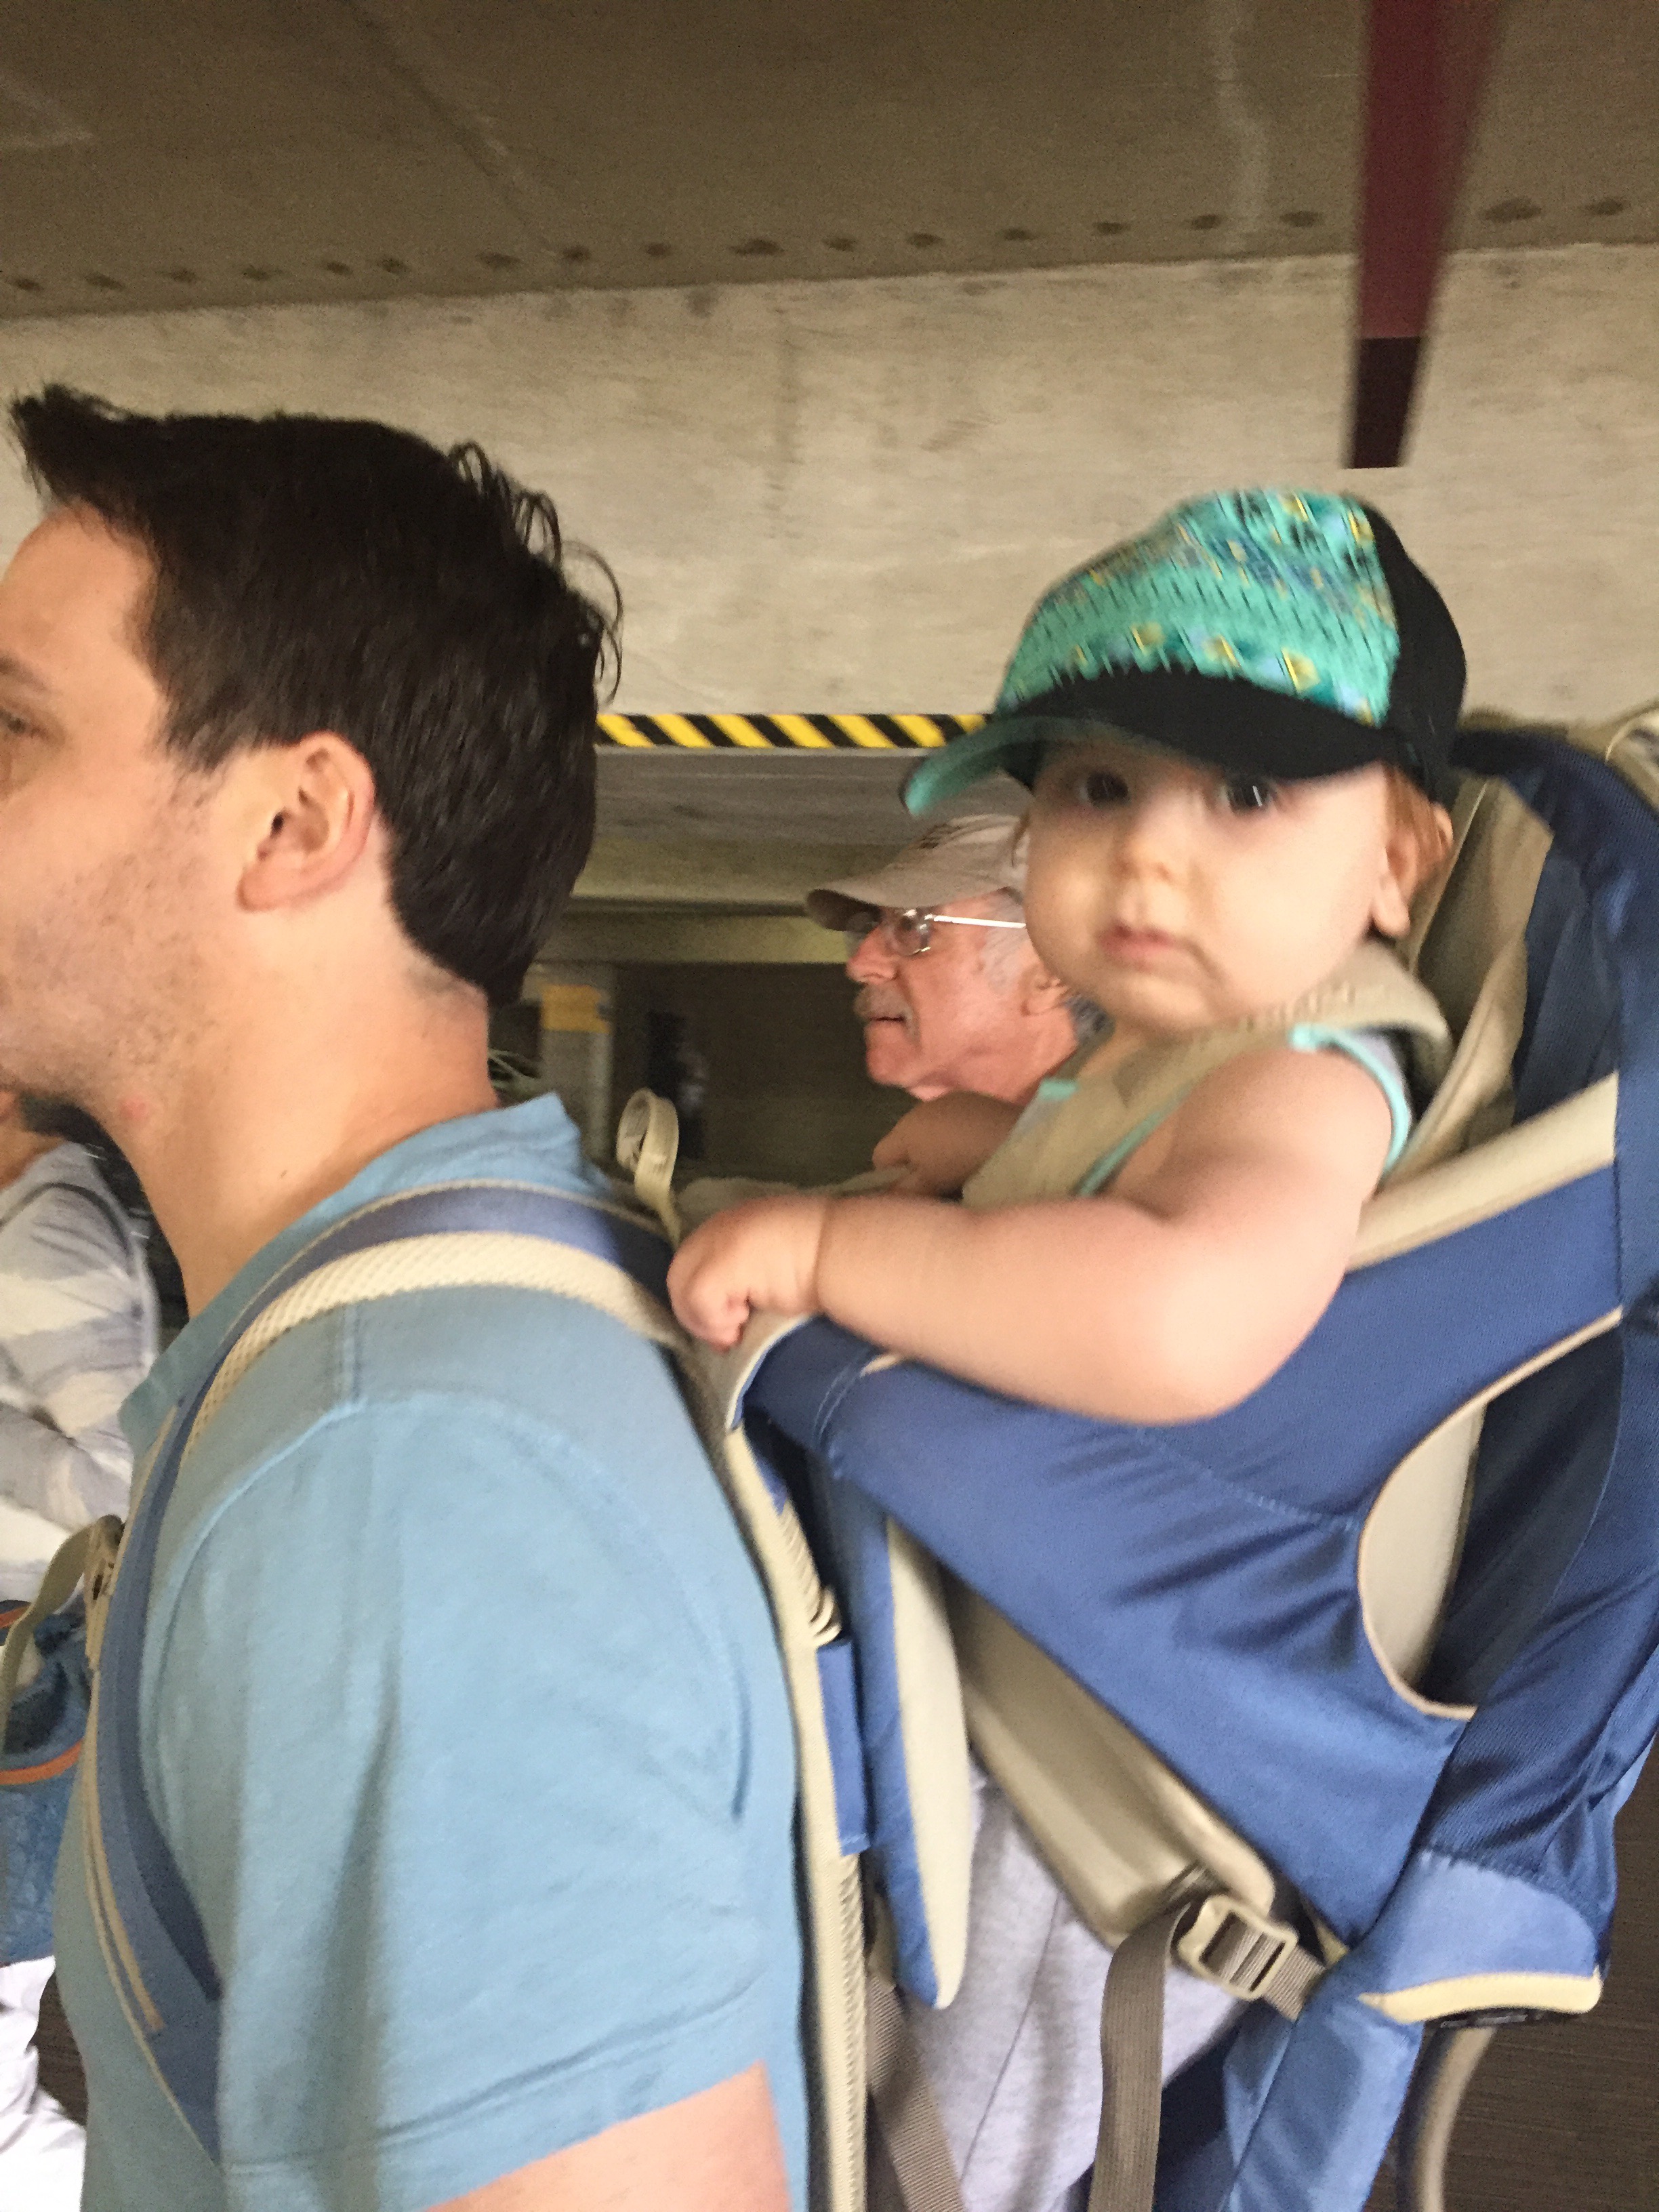
On Sunday, after Mark slept in for the second day of the weekend, we went to the Lakefront Festival of the Arts with Mark’s dad and Step Mom. It was such a blast!

Unfortunately, hubby’s special weekend ended with a long night of working, but all in all, it was a great celebration of my amazing guy.

As for gifts, check out this awesome video we made for Mark! It’s an interview with the kiddos about their superhero, Dad (or “Dat” as Charlie says):​

​ 

Big Girl Room Sneak Peek!

We made SUCH great progress on C’s big girl room this weekend! The closet was a bit of a hiccup, as it ended up requiring some patching and painting, but nothing that could slow us  the hubby down!

Freshly painted pink closet with grey and gold triangle wall decals! I had purchased them thinking I’d put them on a wall in the main room and then changed my mind. Figured I might as well get some use out of them in the closet. PLEASE also note that the damn growth chart ruler FINALLY made it up on a wall… 2 years later. Next step, marking her height!


We worked extra late last night so that we could have the room in a functioning state to show Charlie this morning! (As we’ve been working on the room, we’ve kept the little one out so that we could do more of a grand reveal.)


Well, this morning was that big reveal. We’re not quite done, but we’re close enough that this week we will begin doing nighttime routine in her new room (reading books, drinking milk) and have opened the room up for playing and loving. The hope is then to make the big crib-to-bed transition beginning as early as this weekend!

Anyway, since Charlie got to see it, I figured I’d share a few little sneak peek pictures on here. Once everything is complete, I’ll do a full post on all of the little things in the room, but for now, here are a few pics…


Loving her toddler mirror! She kept saying, “Hiiii! Hii! Hi!”


Loving her new bed. Should I be scared that within minutes of entering the room, she had already climbed in and out of her bed multiple times? I forsee a few nights of Charlie falling asleep on the floor after she decides she does not want to stay in her bed.


Dress up clothes box!


Story time with Nana ❤


We were only able to spend a few minutes in the room with her, but from what we could tell, she LOVED it!

Still on the agenda:

  • Paint closet doors and bedroom door white (we are waiting until spring so we can spray paint outside)
  • Doll up C’s tiny person art table, make cushions for the chairs and hang her art display rack and art suppplies rack
  • Remove baby boy items from C’s closet, transfer all of her clothes to the room.
  • Put light plate on new dimmer switch
  • Install some sort or blackout roman or cellular blinds
  • Get a furry bean bag chair for C’s reading corner
  • Install legs on C’s chair (World Market has had some issues getting us the appropriate hardware)


Poor Workhorse

The hubs has been working hard these past few weeks (and a few weeks before that) on Charlotte’s new big girl room.  

 This weekend, we were finally on the last step: install the closet system.

Unfortunately, more work has arisen. 

We took down the existing shelving/pole thing in the closet and decided we also had to pull off the wood rail things that were holding up the shelves above the pole.  

 Well, if you give a mouse a cookie…

Once we removed the wood rails, the walls looked like crap. So we decided we should paint…

But before we paint, all of the holes need to be filled in with spackle. And did I mention that we accidentally busted a little hole in the wall? 

  Anyway, what was going to be a tedious installation of a closet system is now a wall repair and paint project followed by the installation of a tedious closet system.

Nonetheless, hubby has been perfect and just keeps chugging away. He even took C AND Toby with him to the store to pick up spackle so I could cook dinner in peace. 

I’m a lucky gal. There is no question about that…

DIY Memory Game

I wanted to come up with a fun DIY Valentine’s Day gift for Charlotte this year. I searched the Internet high and low and finally came across this Custom Memory Game.

Of course I didn’t want to just order it, so I decided to make my own version using Adobe InDesign.

Instructions:

  1. Open up an 8.5″ x 11″ document
  2. Create (6) 3″ x 3″ photo boxes per page – I used 18 photos total, so I had 3 pages.Photo Boxes
  3. Start to fill each photo box with close up photos of family, friends, and pets.Filled Boxes
  4. Find a background design that will go on the back of your card. I chose hearts. I snagged the image from Google. My image was too small to spread across the whole backside, so I used the image three times, spread across columns that were slightly larger than the fronts of the card.Back of Card
  5. Once everything is all set up in InDesign, it’s time to print. My printer isn’t amazing, but it was definitely good enough. I printed the front sides first onto cardstock. Remember, you need to print TWO COPIES of EACH PAGE.
  6. Then, I put the printed-on cardstock back in my printer to print the back side.
  7. Once the printing was complete, I started to cut out my cards using a paper cutter.
  8. Then, I used this corner rounder punch to round all of my edges and give my cards a slightly more “finished” look.
  9. Next, it was time to laminate. Again, we don’t have a fancy laminator, so I just used a standard 5mil thick lamination sleeve to laminate my cards. I was able to fit 12 cards per sheet.
  10. Once everything is laminated and cooled, I cut the cards out and was done!
  11. I ended up buying a little zipper pouch for card storage. I ordered this one (I used the small one with the little heart cut out) from Amazon.

The final result was well worth the effort and tediousness of all that cutting. Charlotte LOVES the cards. She doesn’t understand how to play Memory quite yet, but she matches the cards and loves pointing out all of her friends and family. Definitely a success!


DIY Glitter Sensory Bottles

IMG_9527

With Charlotte in school this year, I thought it was the perfect time to make DIY Glitter Sensory Bottles as Valentines for her class. My intention was to have us do the project together.

Yes, I thought a project that involves glitter glue, GLITTER (excessive amounts), hot water and a hot glue gun would be a great activity for my toddler and I to complete together. I was wrong. In fact, Charlotte’s only real participation was shaking a few of the bottles up for mommy.

So I did what any improvising Momma would do… I put Charlotte to bed and binge watched TV while I finished making TWELVE glitter sensory bottles.

IMG_9521

Instructions to Make ONE Bottle

Materials (there is a bit of a trial and error that needs to go into this, but here’s what worked for me):

  • Plastic Bottles (I used 11.5 oz Fiji water bottles because they’re cute and small and sturdy – NOTE, I didn’t want to waste the water, so I drank about 80 ounces in one night and then saved the rest. I had to pee fiercly all night.)
  • Glitter glue (1/3-1/2 a X ounce bottle)
  • Extra fine glitter (I bought an X ounce bottle and could have literally used it for all 12 bottles. You really only need about a teaspoon… in my opinion.)
  • Hot Water
  • Glue Gun
  • Tiny Figurine (I added one tiny animal figurine per bottle because I thought it’d be cute. My toddler and her friends confirmed. The figurine is a fun addition.)
  • Essential Oil (optional – I used lemon)

Instructions:

  1. Consume water from water bottle.
  2. Peel off the label from the water bottle. This was a HUGE pain in the ass for me. I tried using this Goop Off Soap, soaking in HOT water, a scrubber sponge, vegetable oil, prayer… nothing was working. So, I Googled ways to get label adhesive off of a plastic bottle and found the most effective solution. Simply put a couple drops of essential oil on a paper towel and rub the adhesive off. It was SO much easier and so much faster. Just make sure to use a child-safe essential oil.
  3. Put the glitter glue into the bottle. Then, fill the water bottle to about 2/3 – 3/4 full with HOT tap water. Add the glitter.
  4. Cap it and shake, shake, shake.
  5. At this point, you may need to add glitter or glue (the glitter glue will help slow down the flow) depending on how your bottle is shaking.
  6. Note that at this point, my bottle filled with bubbles. So once I perfected my glitter to glue to water ratio, I waited for the glitter to settle at the bottom and squeezed all the bubbles out.
  7. Then, I filled my bottle up with hot water the rest of the way. Leave enough room to shake the bottle, but honestly, you can go pretty high. My water line was at the little plastic seal from the cap.
  8. Add your figurine, cap it and shake again.
  9. Once you’re in love with your bottle, put some hot glue on the inside of the cap and twist the cap back onto the bottle. Voila! You’re done!

Tips: 

  • At first, my glitter was totally sticking to the sides of the bottle and just not working. Turns out I had used too much glitter and too much glue. I simply poured my mixture out into a paper cup and then added a fraction of the mixture back into my bottle and added hot tap water until my ratio made sense.
  • Make sure to glue the cap onto the bottle. Otherwise, babe might unscrew the top and either a) make a huge mess or b) drink glitter. Both are terrible.

Toddler-Made DIY Gift Tags

IMG_9523

One element that Charlotte helped with was the little gift tags used on each of the bottles.

  1. Facilitate child painting or drawing on cardstock (we used cardstock that was finger… well, hand-painted a few days before)
  2. Use your favorite paper punch (I bought the cutest dang heart punch ever on Amazon. I’m obsessed.) to cut out shapes from the best areas of the artwork.
  3. Write your note!

IMG_9528

THE Shoes

Remember how I mentioned that my cousin made Charlotte THE cutest shoes that have ever existed? SO amazing that they would require an entire post dedicated to their greatness?

Well, this is that post.

My cousin, Stefanie, is a very talented lady.  If you’re interested in your own fancy shmance pair of the cutest converse sneakers EVER, let me know and I’ll connect you with her greatness. 

Without further ado… The shoes:


Yes, she even bedazzled the adorably mini converse box and the converse label on the shoe (on the back and the tongue)!

Here’s the pair she made for my niece (as if making one pair with HUNDREDS of magical crystals wouldn’t make you crazy)…

   
This is what it looks like to receive shoes of such greatness:

Charlie’s shoes are still a little too big (thank goodness – with her being a new by walker, she’s constantly falling, etc.). I’m hopeful that right after our nasty winter, when things are nice and dry, Miss C will fit in her glamorous kicks!


Charlotte’s First Birthday Party

For anyone that doesn’t know me, I just love throwing a good party. I love little details and I love hosting my friends and family at the house. So yes, I’ve been pretty excited about throwing my favorite girl a birthday party since at least Month 6.

I didn’t really select a theme… the only real guideline I had was that I was desperate to see all the tiny girlies in pink tutus. I don’t know about you, but I genuinely believe that there is not much cuter than babies draped in tulle.

The other big thing was that I wanted to have the party in the backyard, BUT, did not want to BBQ. BBQ’s create more heat (Hello!! It’s July!, hazard (babies and curious hands), and work during the actual event. It was important to me that Mark and I got to really enjoy our guests and our time with the little princess.

SO, with all of that in mind, we turned our backyard into an awesome little party venue, adorned with tissue paper pom-poms, pink beach balls (I ordered these sames ones from Rakuten, but can’t seem to find the ones I purchased for $14.99 including shipping) and an awesome (and inexpensive) DIY canopy. I made the cutest little tutus and rustic flower crowns for the 4 girls, crowns for the boys using gold leather I bought on Etsy that had a very “Where the Wild Things Are” vibe, and flower crowns for the adult ladies.

I’ll post separate blogs for DIY tutus, flower crowns, leather ‘where the wild things are’ crowns, and party canopies.

We also brought in a woman to do a little song session with the kids. She’s someone who used to work at my husband’s grade school and was SUPER affordable and wonderful!

For food, I made BBQ Chicken in the Crock (I skipped the corn starch/chicken broth step… but probably wouldn’t do that again), Tortellini Pasta Salad (SO DELISH!), Red Cabbage Cole Slaw (I can’t find the recipe, but don’t worry, I didn’t like how this turned out), Watermelon Salad, and then had dips/vegetables/fruit/chips/cheese/crackers/etc. I bought the cake and cupcakes from the store and made rice krispie treats.  


Birthday Tutus

The only real “vision” I’ve had for Charlotte’s first birthday party has been tutus. I desperately want to see Charlie bouncing around with her tiny friends, all looking adorable in pink tutus.

So clearly, the only thing to do was to make tutus for all the girlies coming to the party (I think it amounts to 4). 

I’ll make an official DIY how-to later, but for now, check out the sneak peek!


I’m SUCH an idiot…

Remember when I spent weeks meticulously painting different sized stripes in 6 different colors on a growth chart for Charlotte? Here’s the blog if you’ve forgotten.

Growth Chart 2 Growth Chart

Well, I had gotten as far as painting all the colors on when I put the project on pause. Now, 11 months later, I finally decided it was time to finish. I lightly sanded it last weekend so you couldn’t feel the ridges from where I lifted the tape, I touched up the paint and sanded again, and finally it was time to spray coat it with a clear enamel.

Last night was the night!

Mark shook my paint for what felt like forever, I took it outside and sprayed! When I was done, I went searching for the numbers I had bought to mark the feet. Finally, I found the numbers and in the bag was also a can of clear enamel spray paint. I instantly grabbed the can I had just used and started comparing.

Hmm… what’s the difference?

I looked back and forth and back and forth when all of a sudden it hit me… THE CAPS! THE CAPS ARE DIFFERENT. One white, one clear.

I ran outside to look at my ruler…

SHIT!

I spray painted WHITE PAINT over my damn ruler!

SHIT, SHIT, SHIT!

UGH. I cannot even believe what a stupid and careless mistake I made. Dangit.

  
(I wish I had a before and after to show just how white this is now.)

So, tonight, instead of being ready to fasten the numbers onto my beautifully finished ruler, I will be attempting to sand off the white paint while salvaging the paint underneath.

Can I still blame mommy brain?