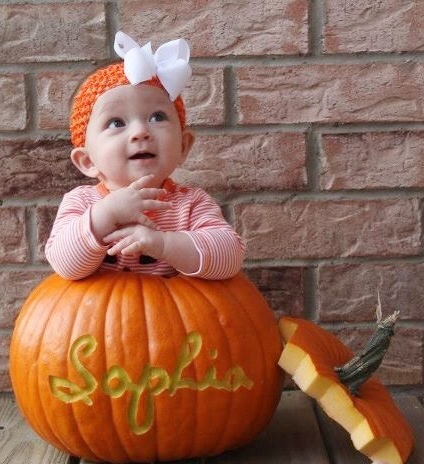
As part of Charlotte’s year photo package (professional pictures at newborn, 3 months, 6 months, 9 months, 12 months), she also gets a bonus “pumpkin patch photo”.
So naturally, I searched the internet for ideas until I found this one…
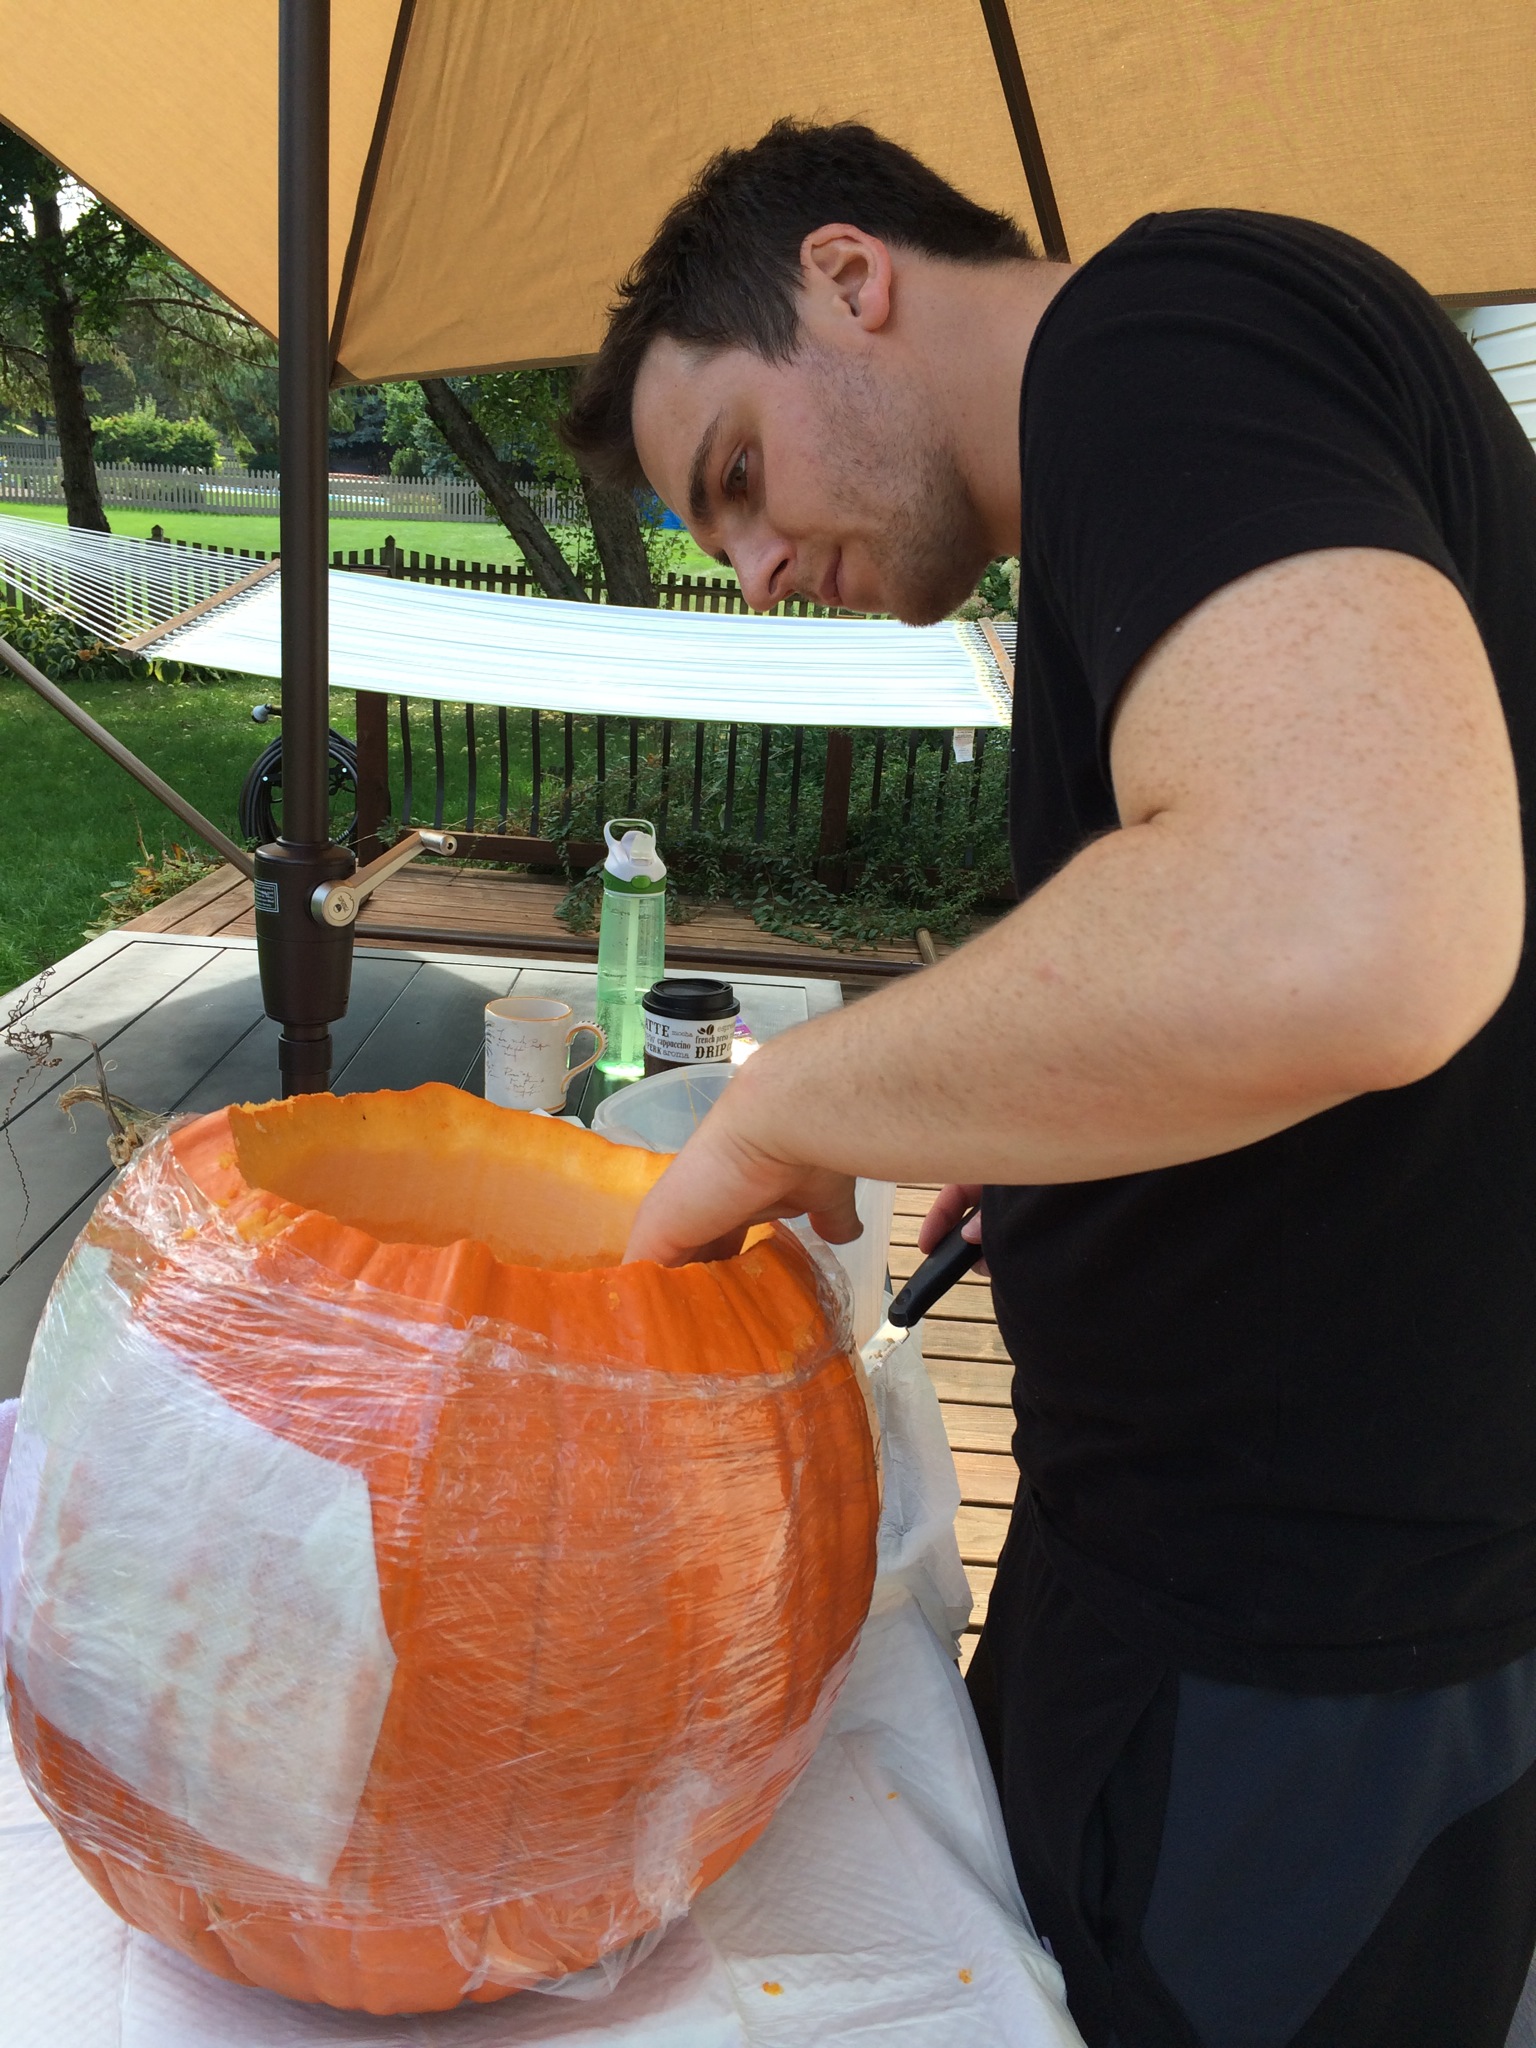
Since I found it, I’ve been trying to recreate it. So, I watched a tutorial about “scraping a pumpkin” and Mark and I got started last night.
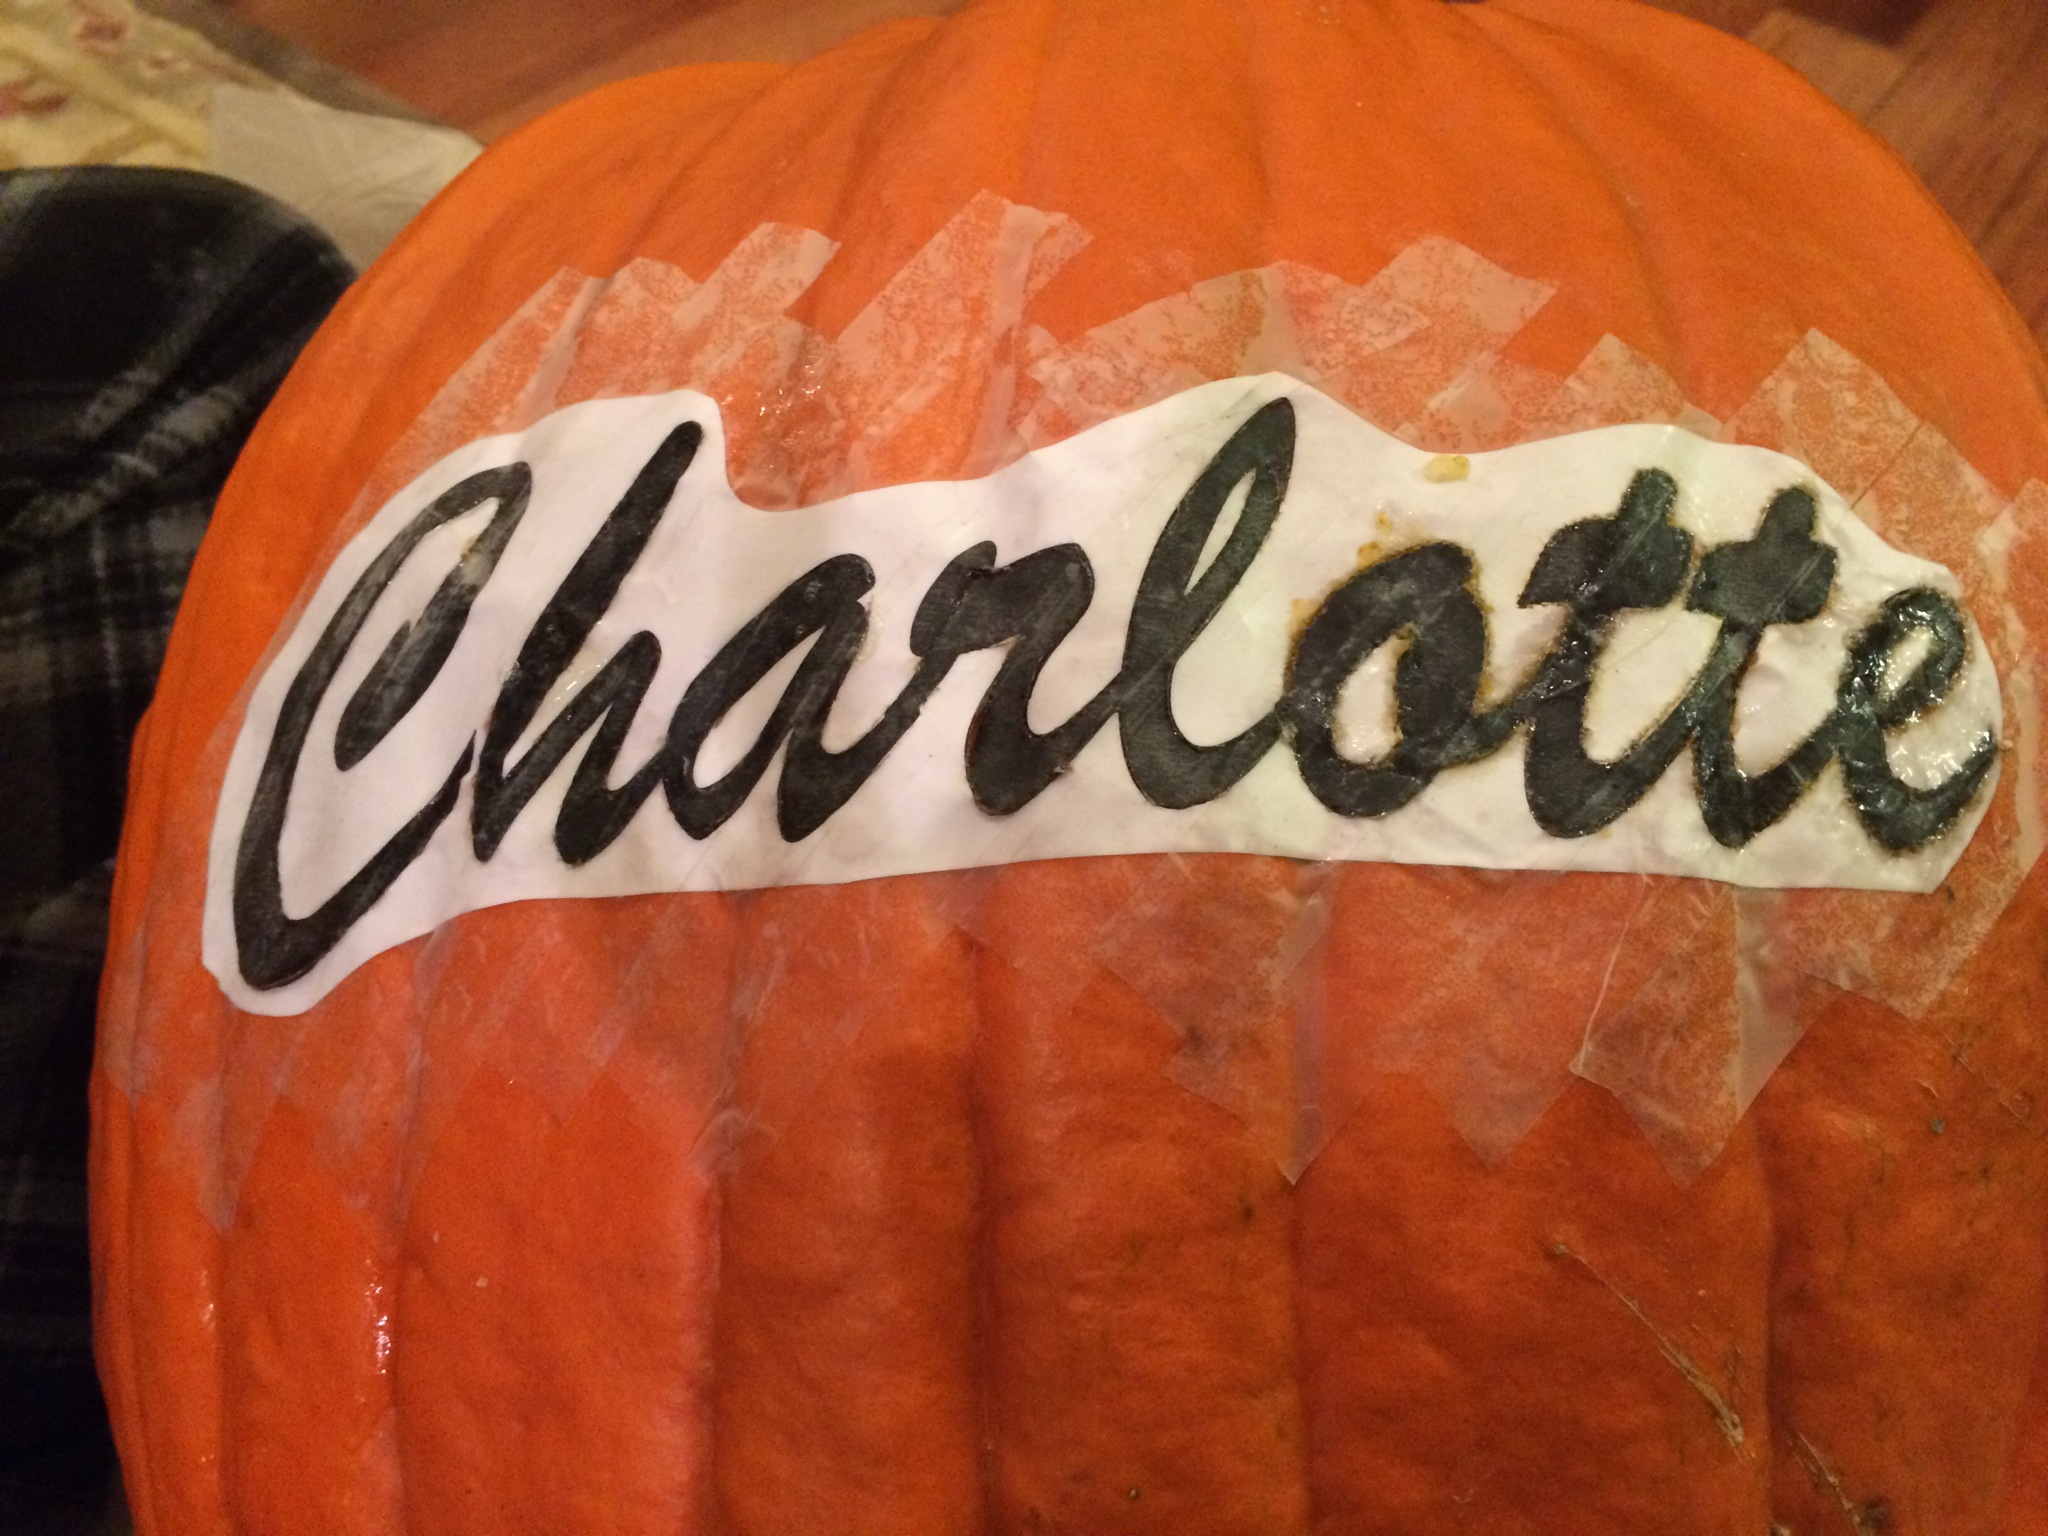
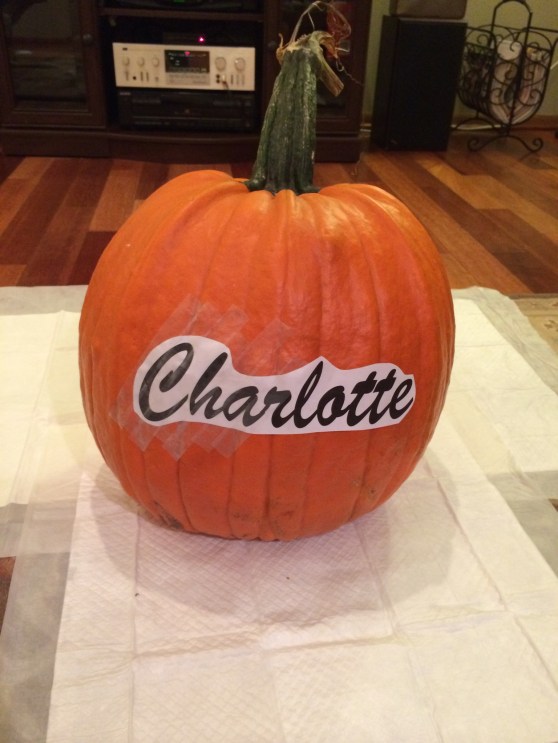
Step one: pick a computer font you like to make your stencil. I originally did this in word, but because her name is so long, I switched to Adobe Illustrator so I could stretch the text to be taller. Once perfected print out stencil on any old paper and cut off the excess paper.
Step two: tape your stencil to your pumpkin. We used doubt sided tape on the back and then scotch tape over it. That worked really well.
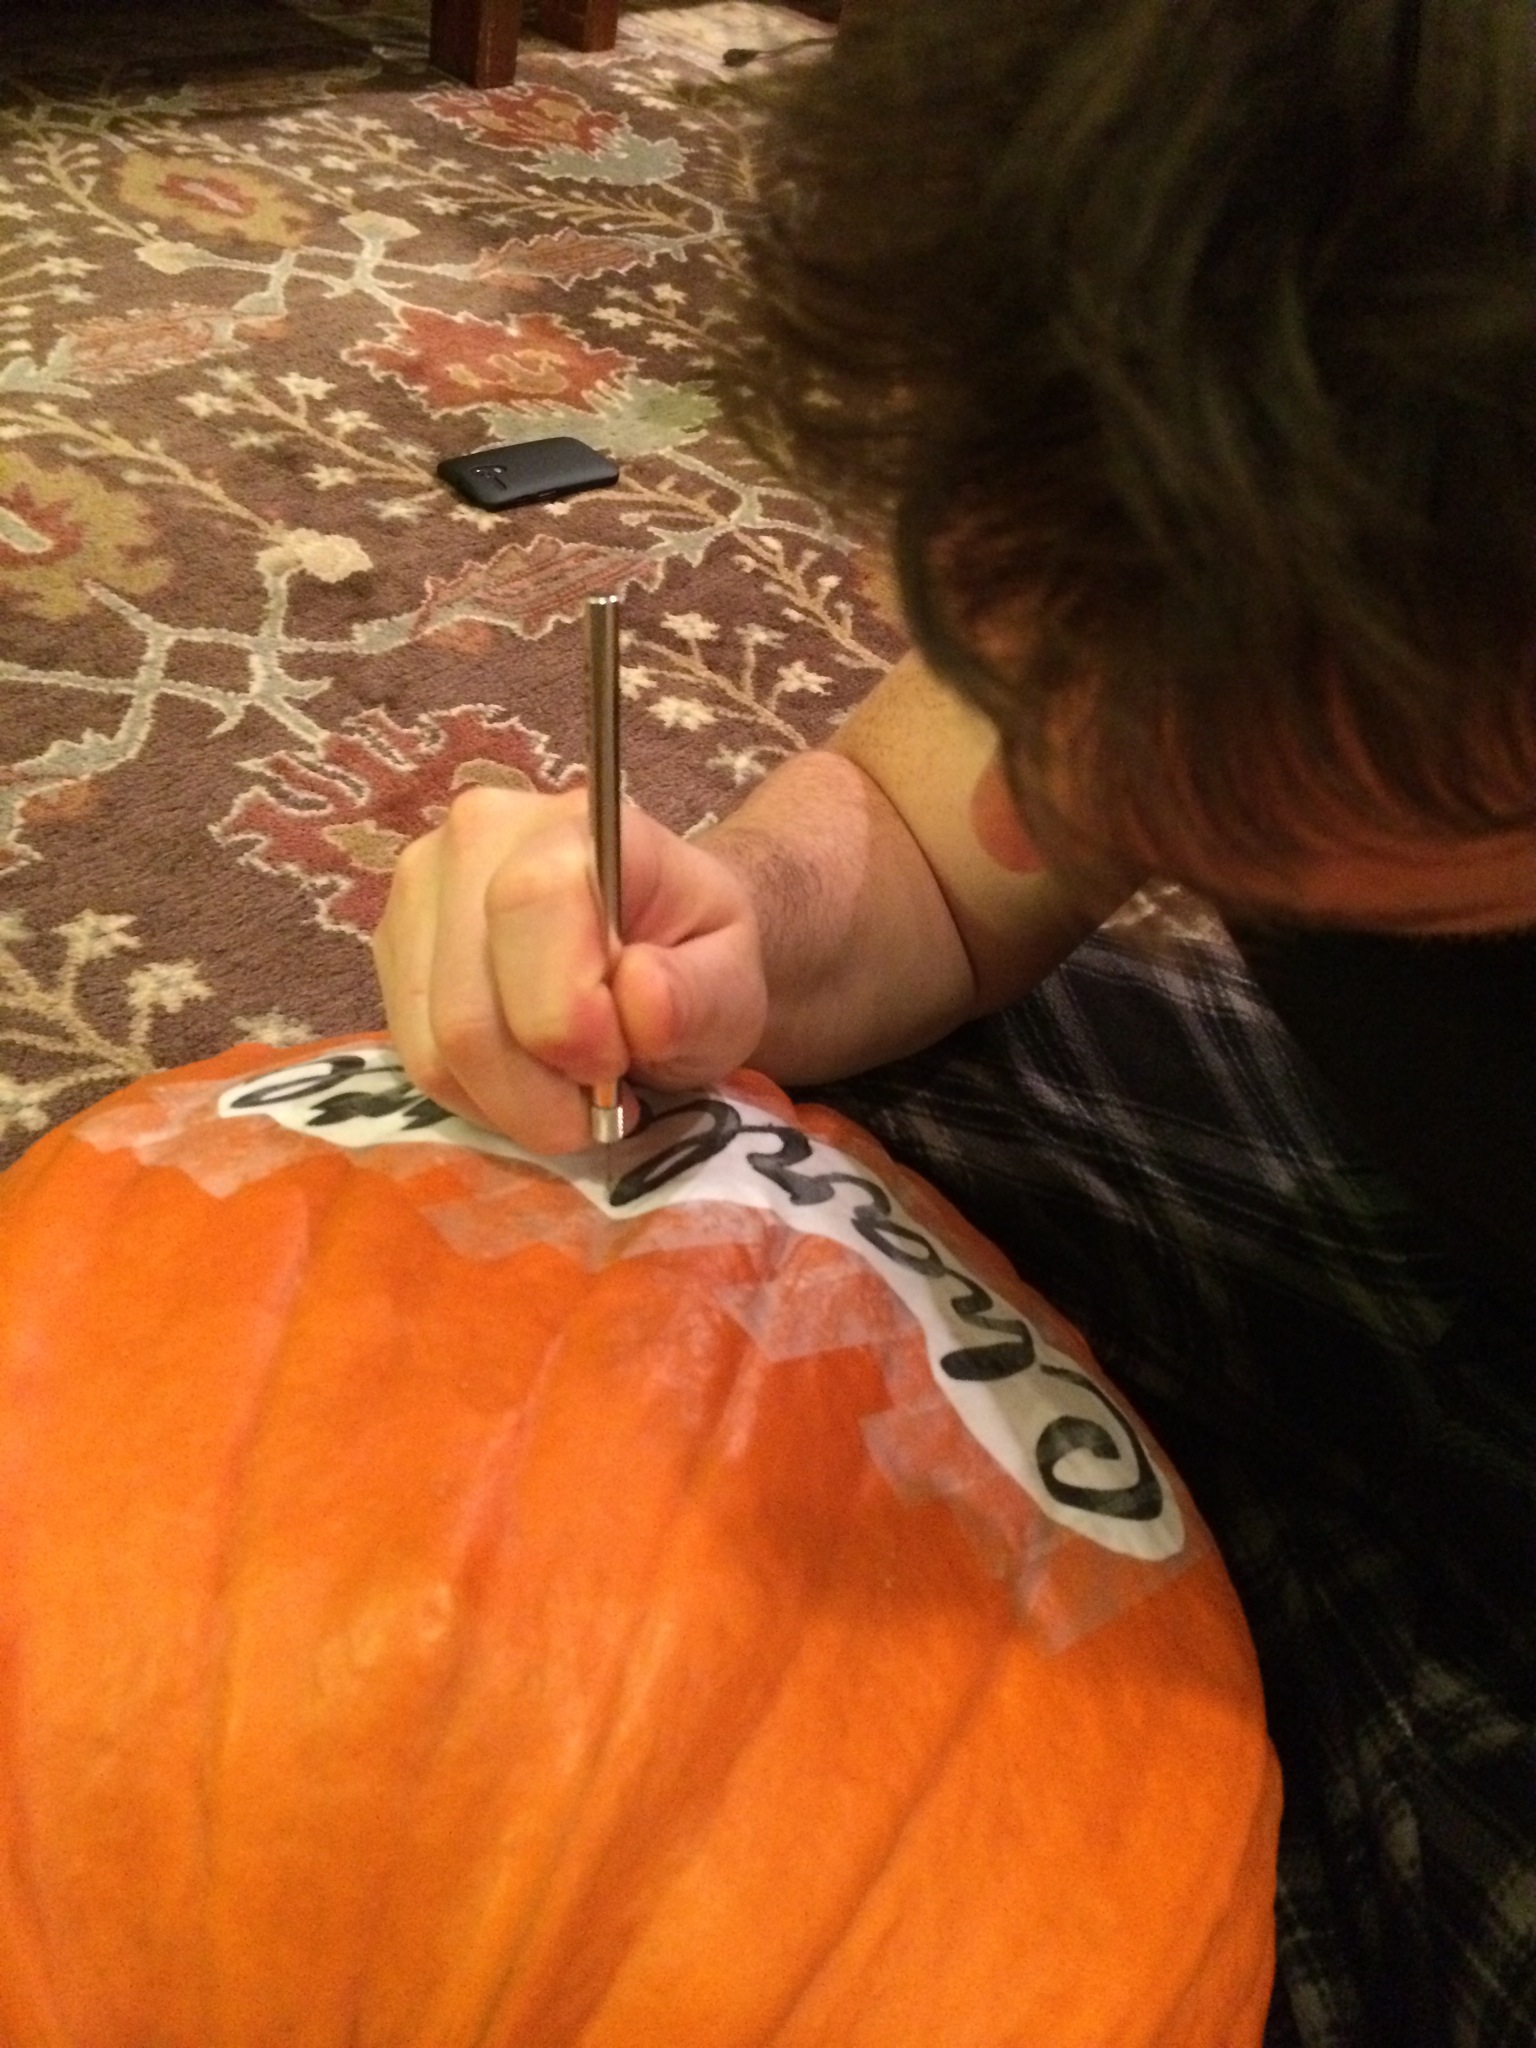
Step three: use a very skinny exacto knife to trace your stencil onto the pumpkin. The best way is to poke holes until you’ve traced everything. Note: work from the inside out… The middle, the inside of a letter, everything.


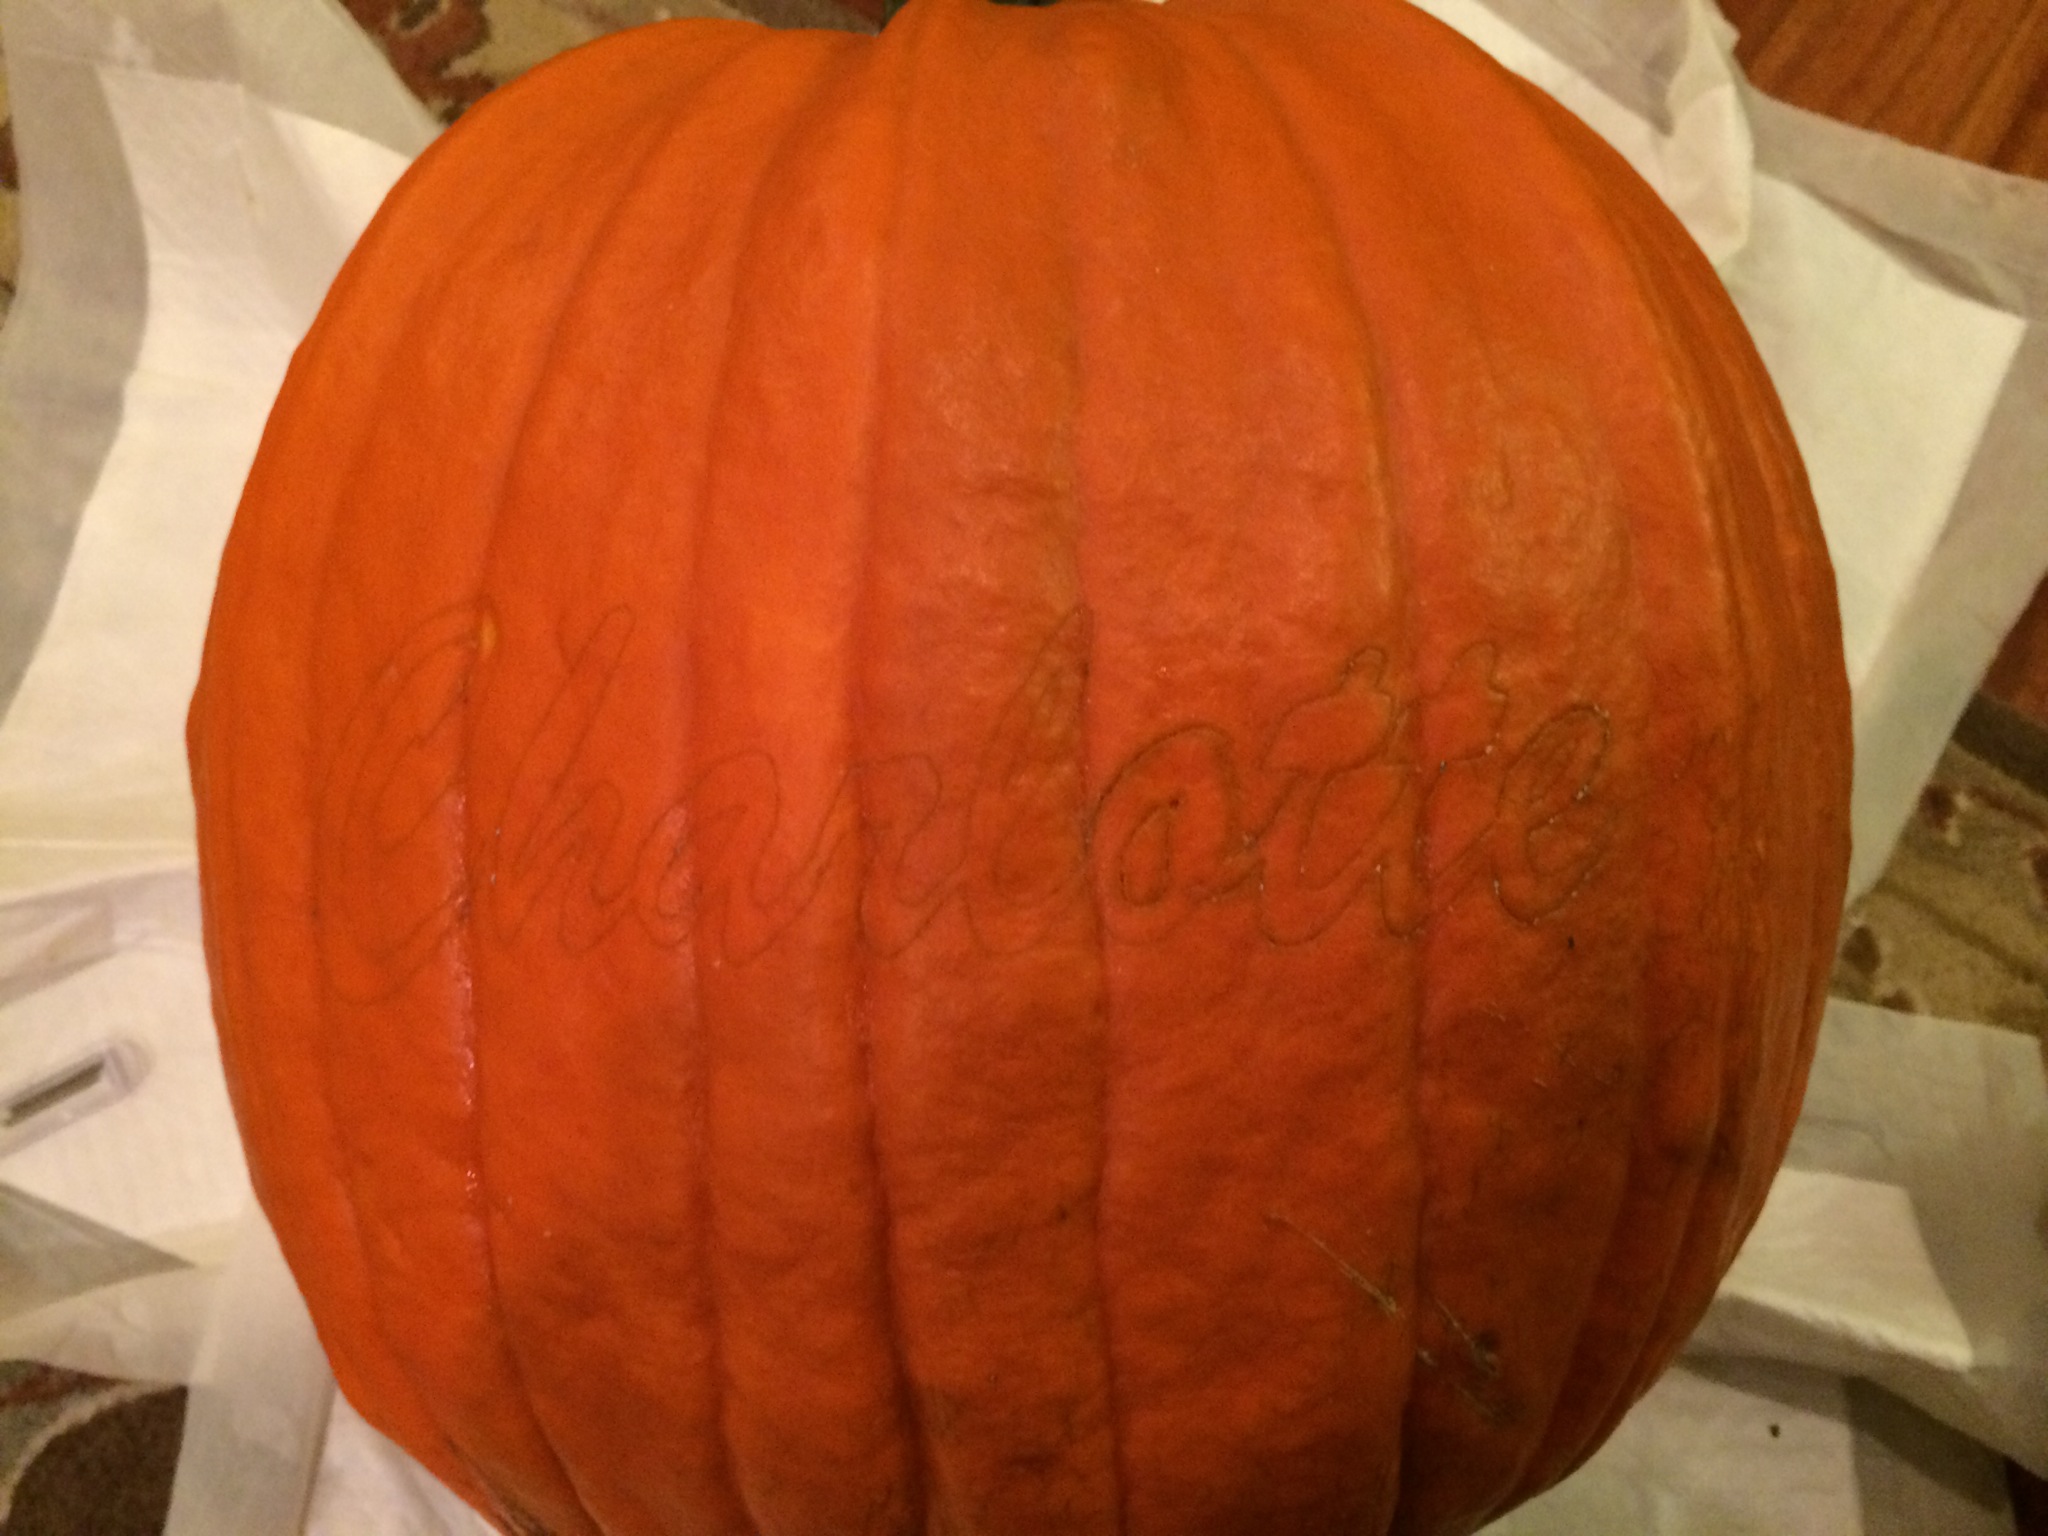
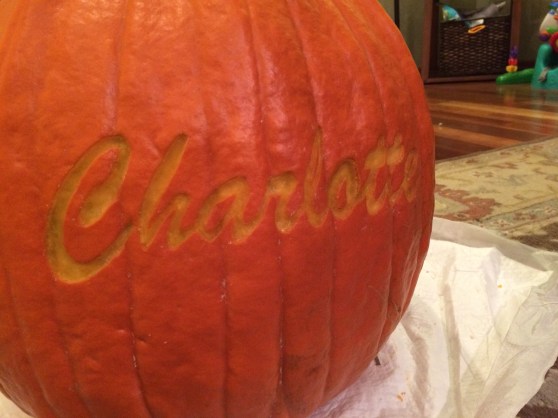
Step four: peel the stencil off and reveal. Then, take flour and rub it on to make your lines pop more.


Step five: using the exacto knife, chunk out the letters. Then, use a scoop (I used the tip of our old school peeler) to smooth it out.

And… Voila!!!

We used a mixture of half water and half lemon juice soaked on a paper towel and wrapped in plastic wrap to preserve it. I’ll let you know how that works…


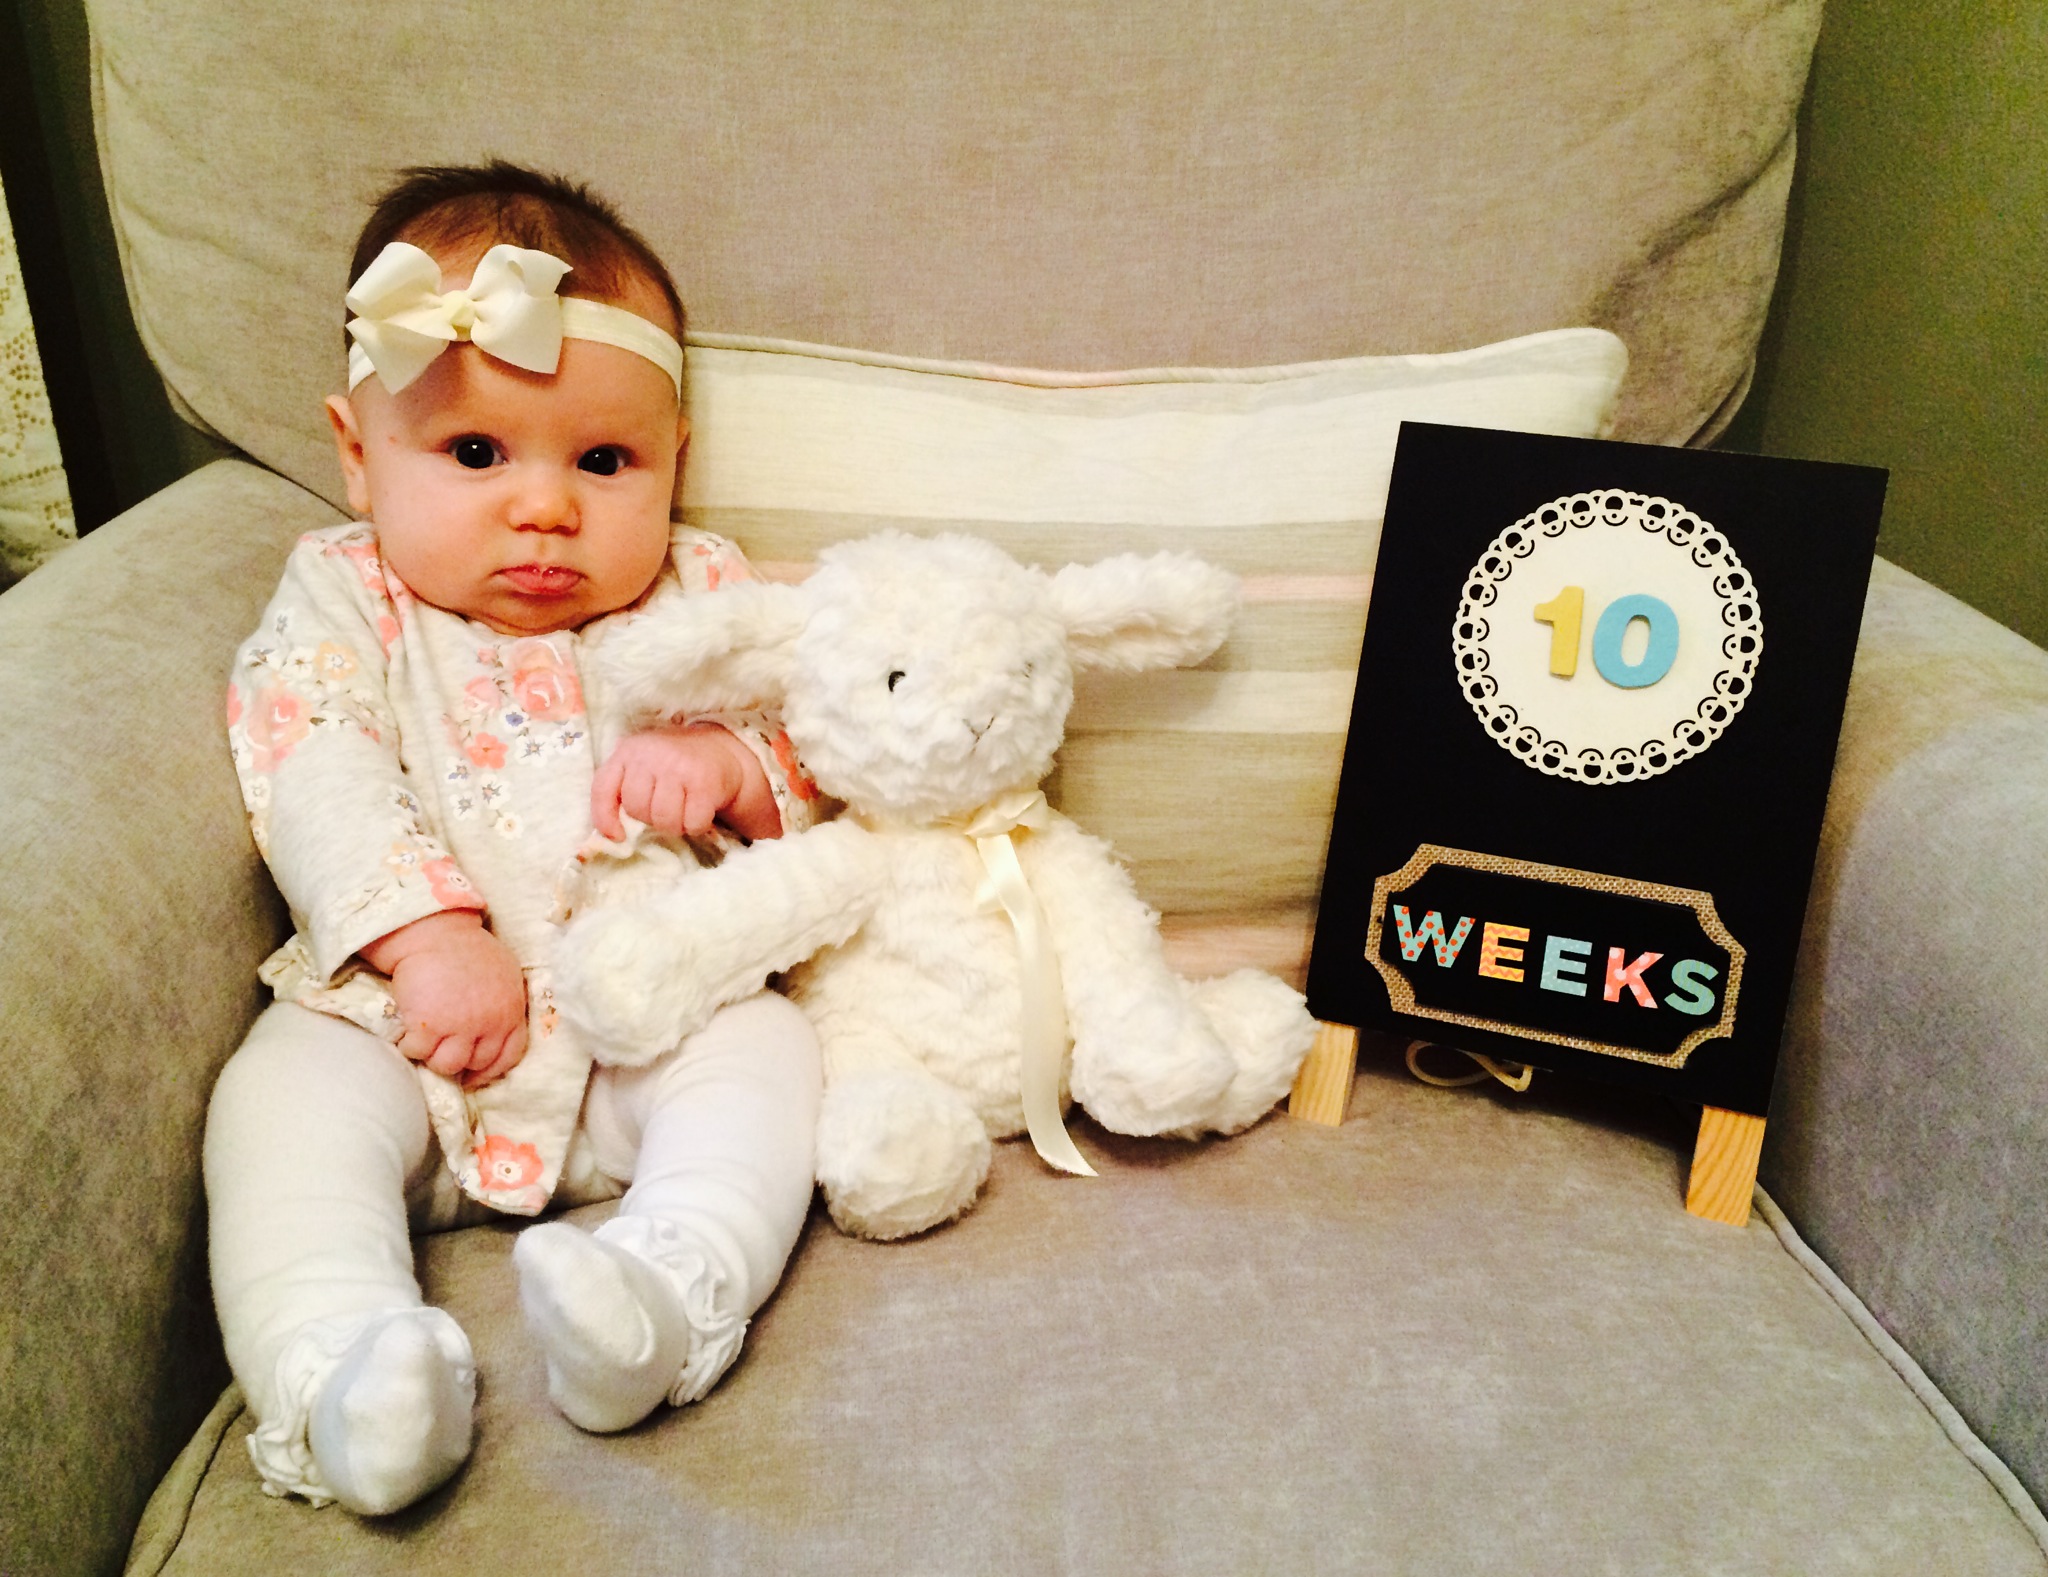
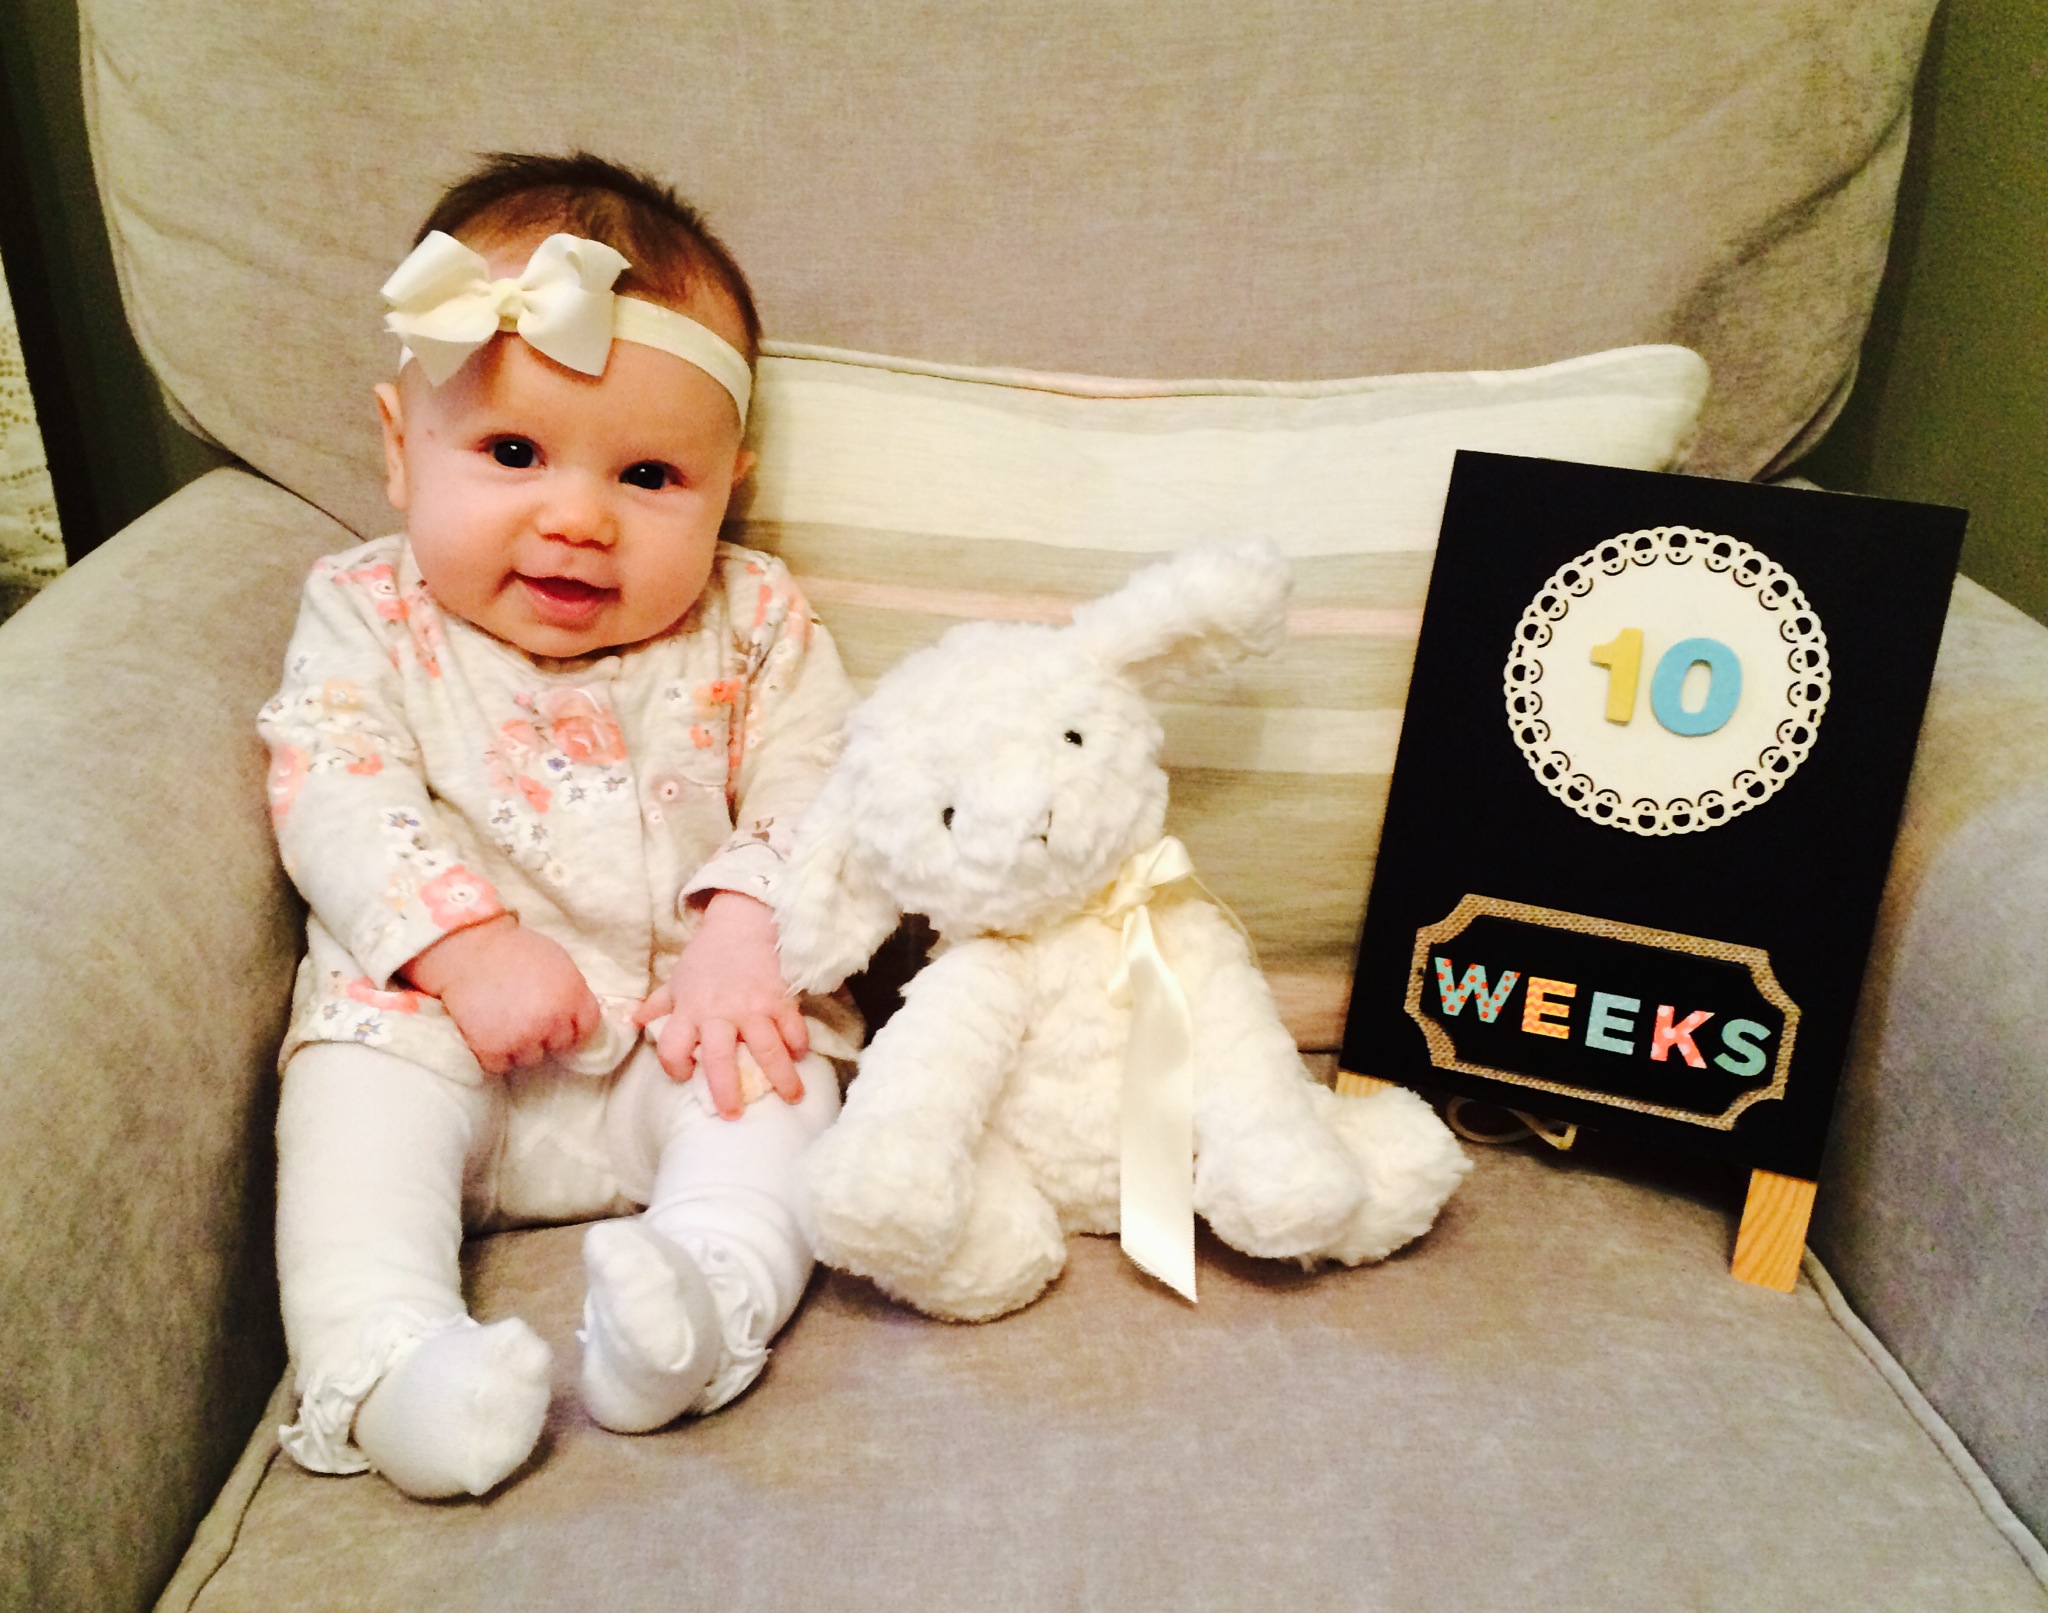
I also picked up this cute little onesie/pants/tutu thing from Kohls for $14:

And my friend at KiKi & Bee made me the cutest little Halloween headband! Photos to follow.
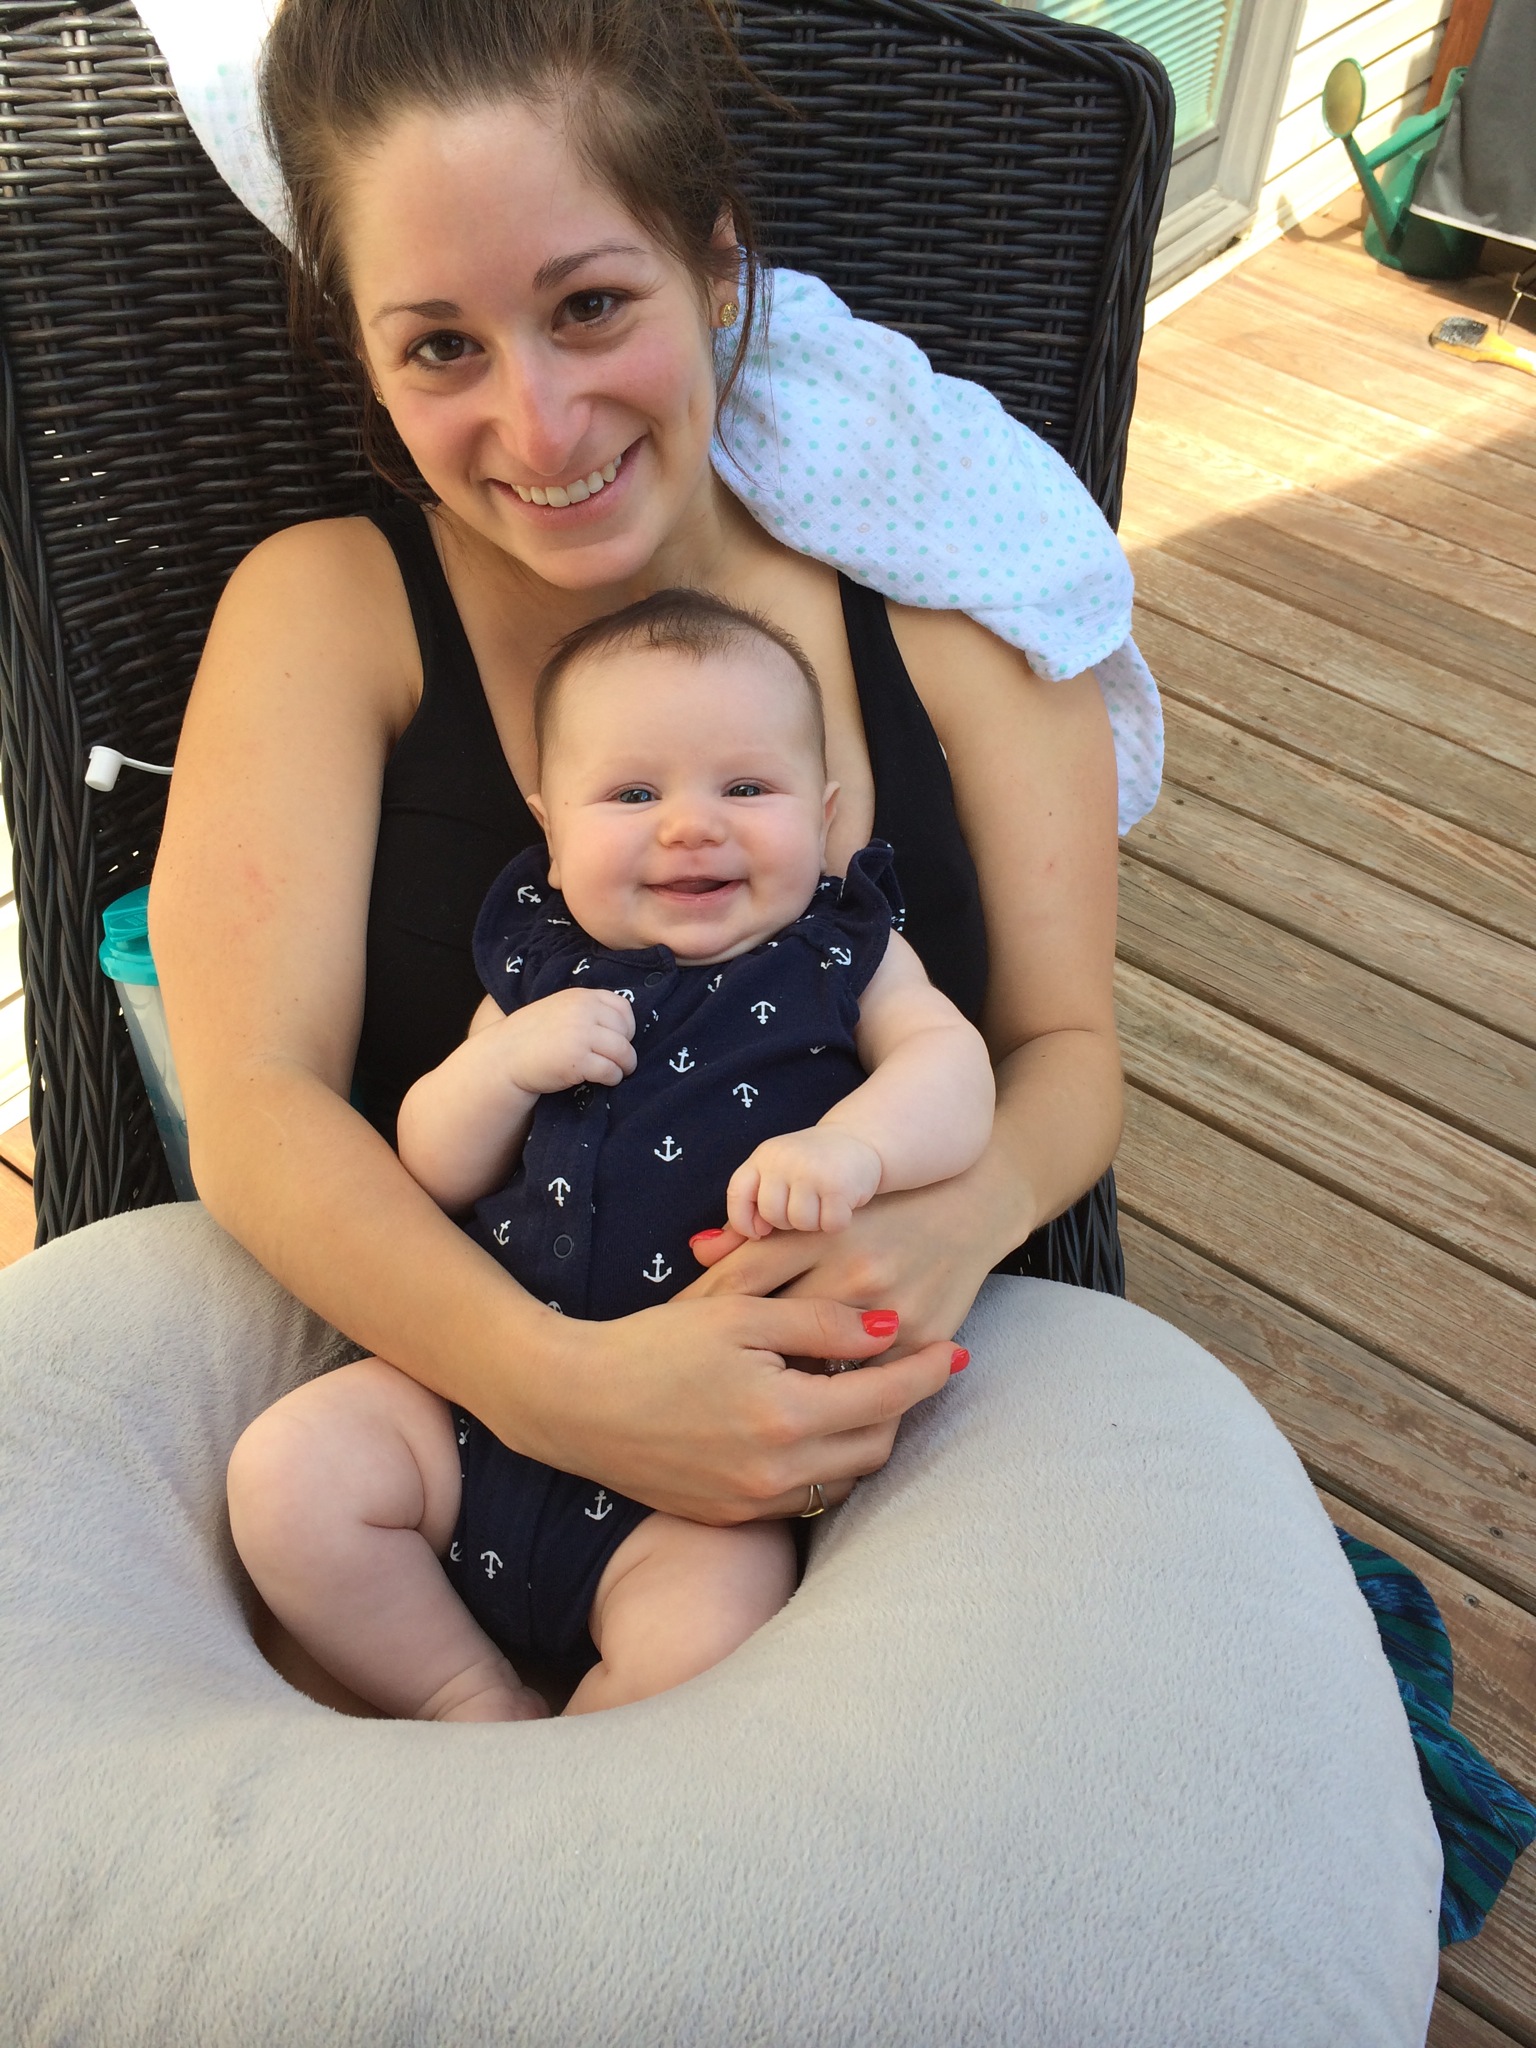
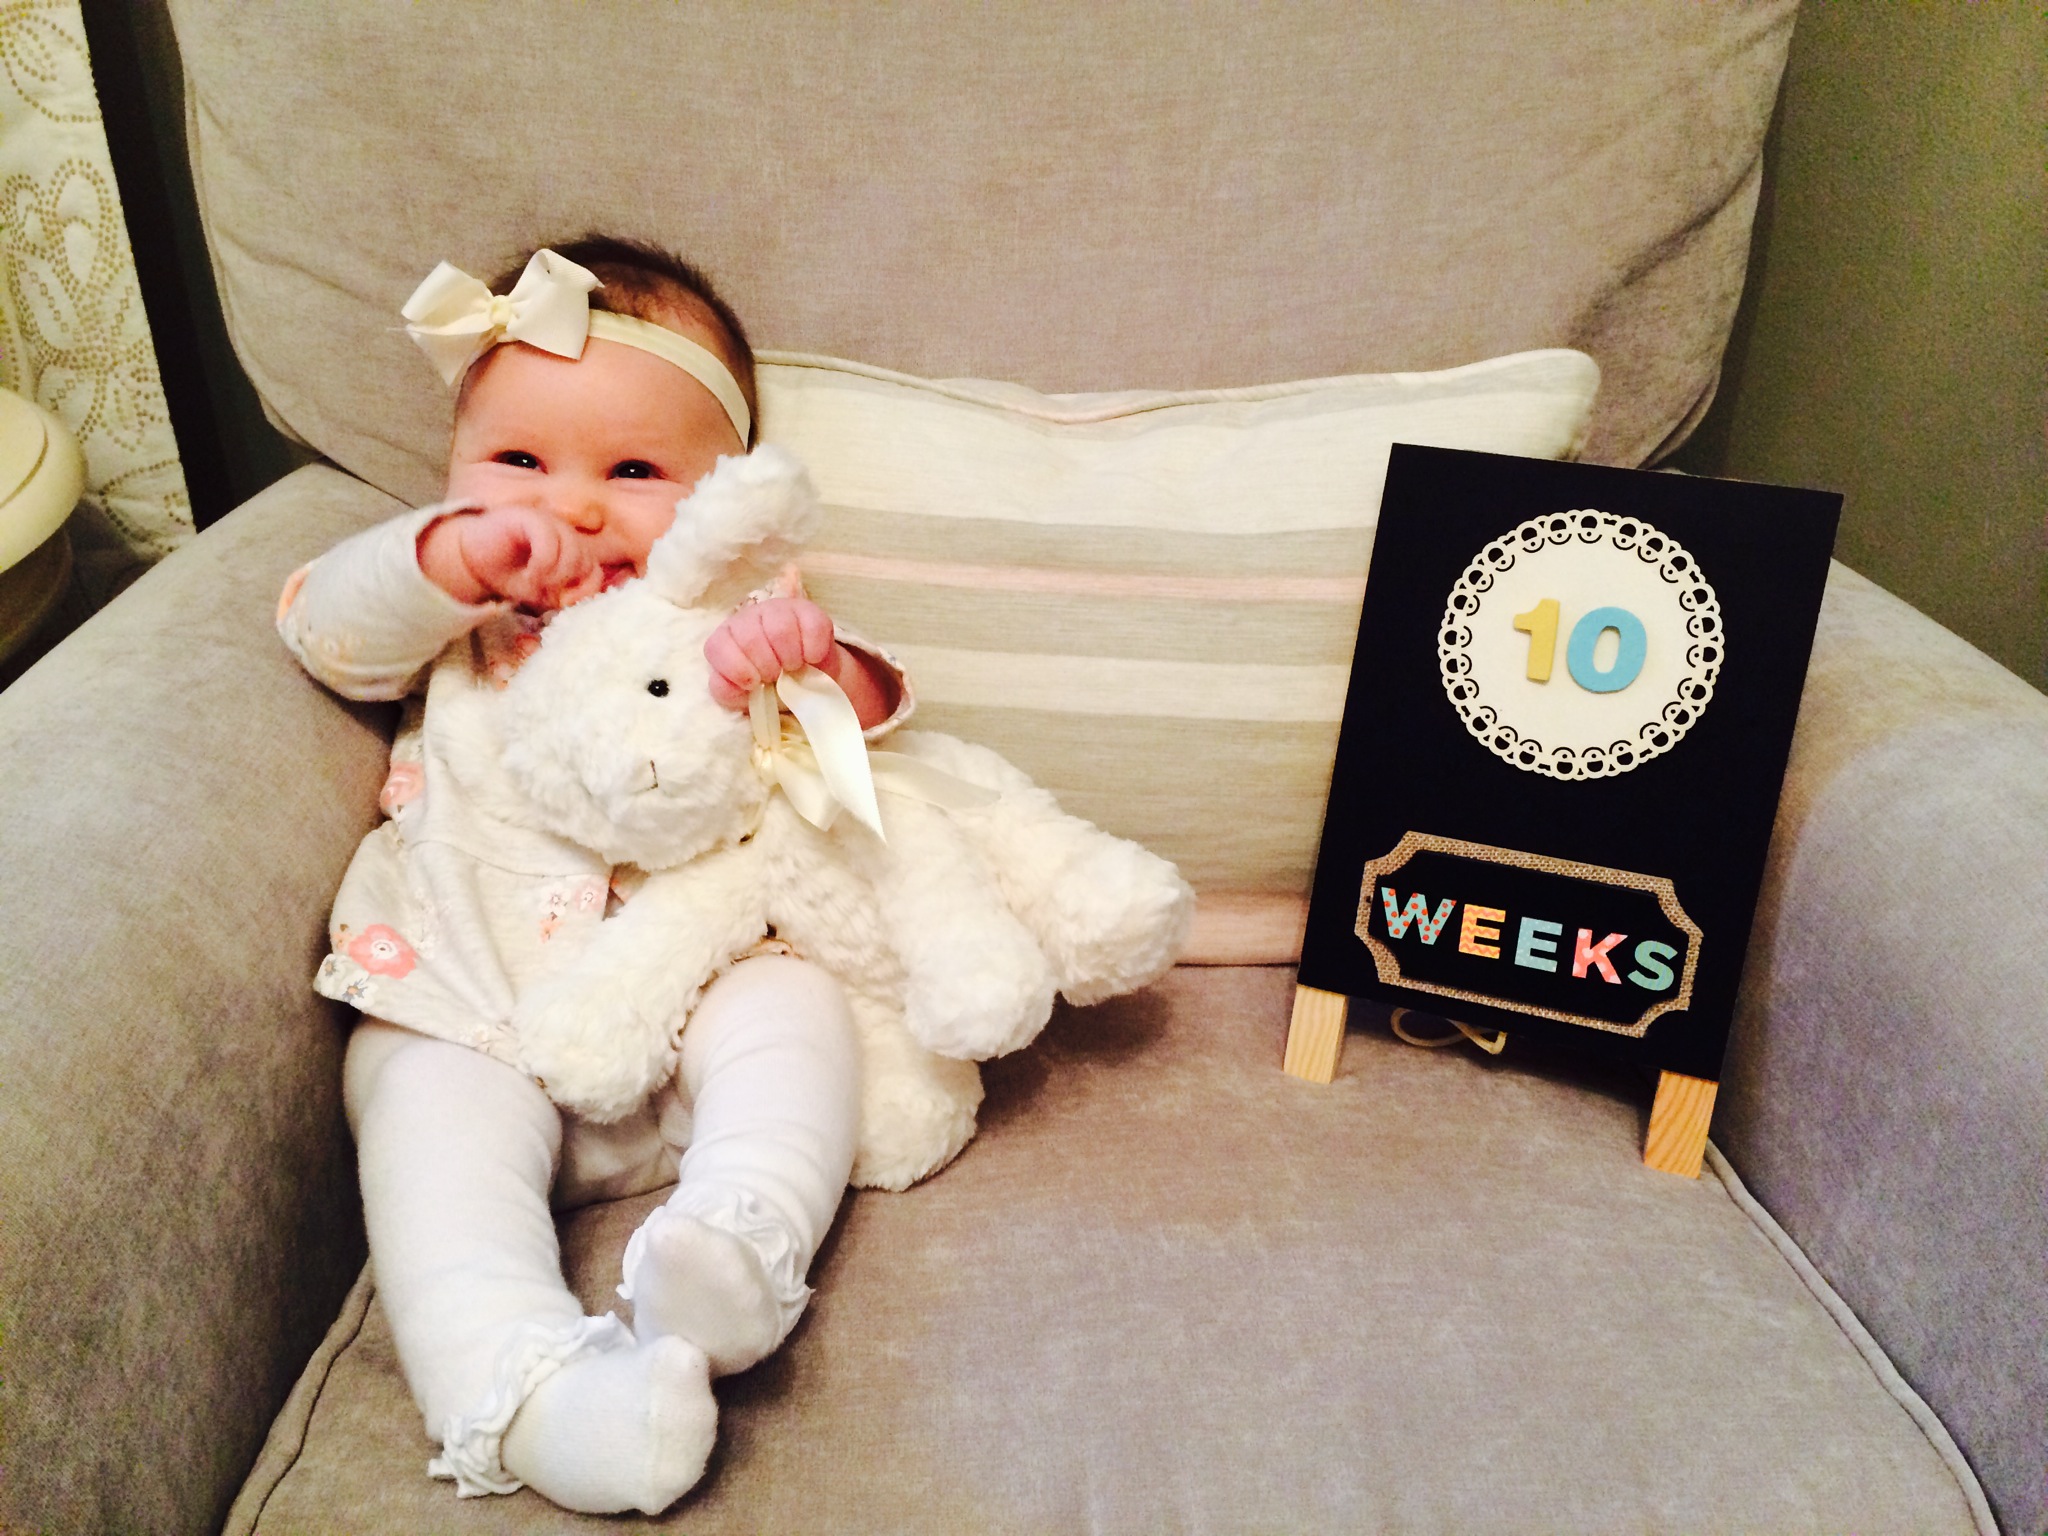
Now we just need a happy baby and we’ll be all set!